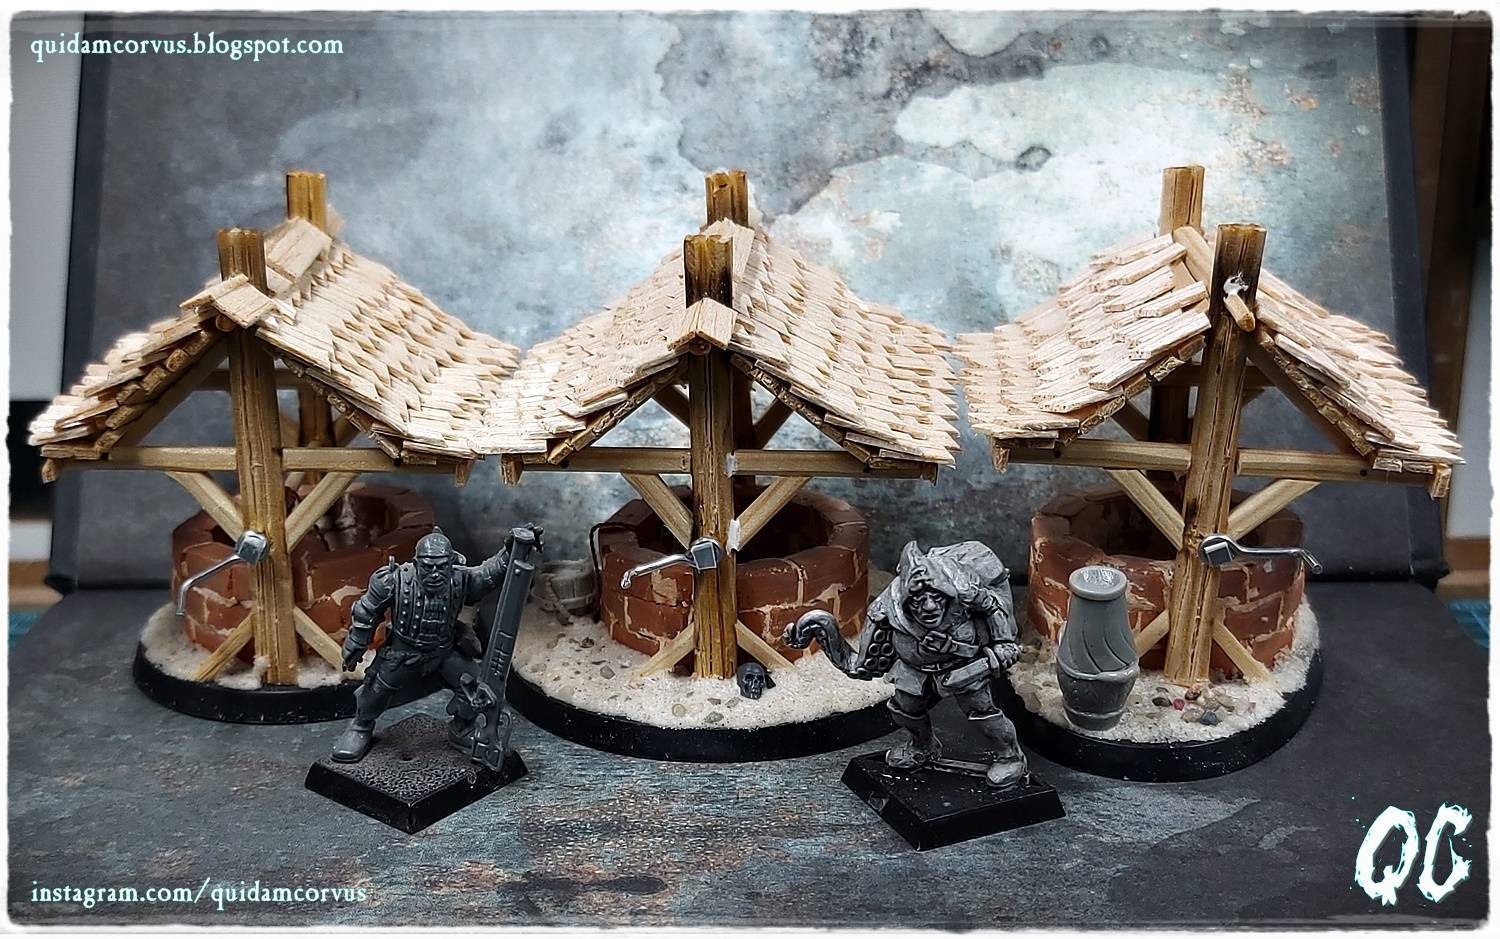
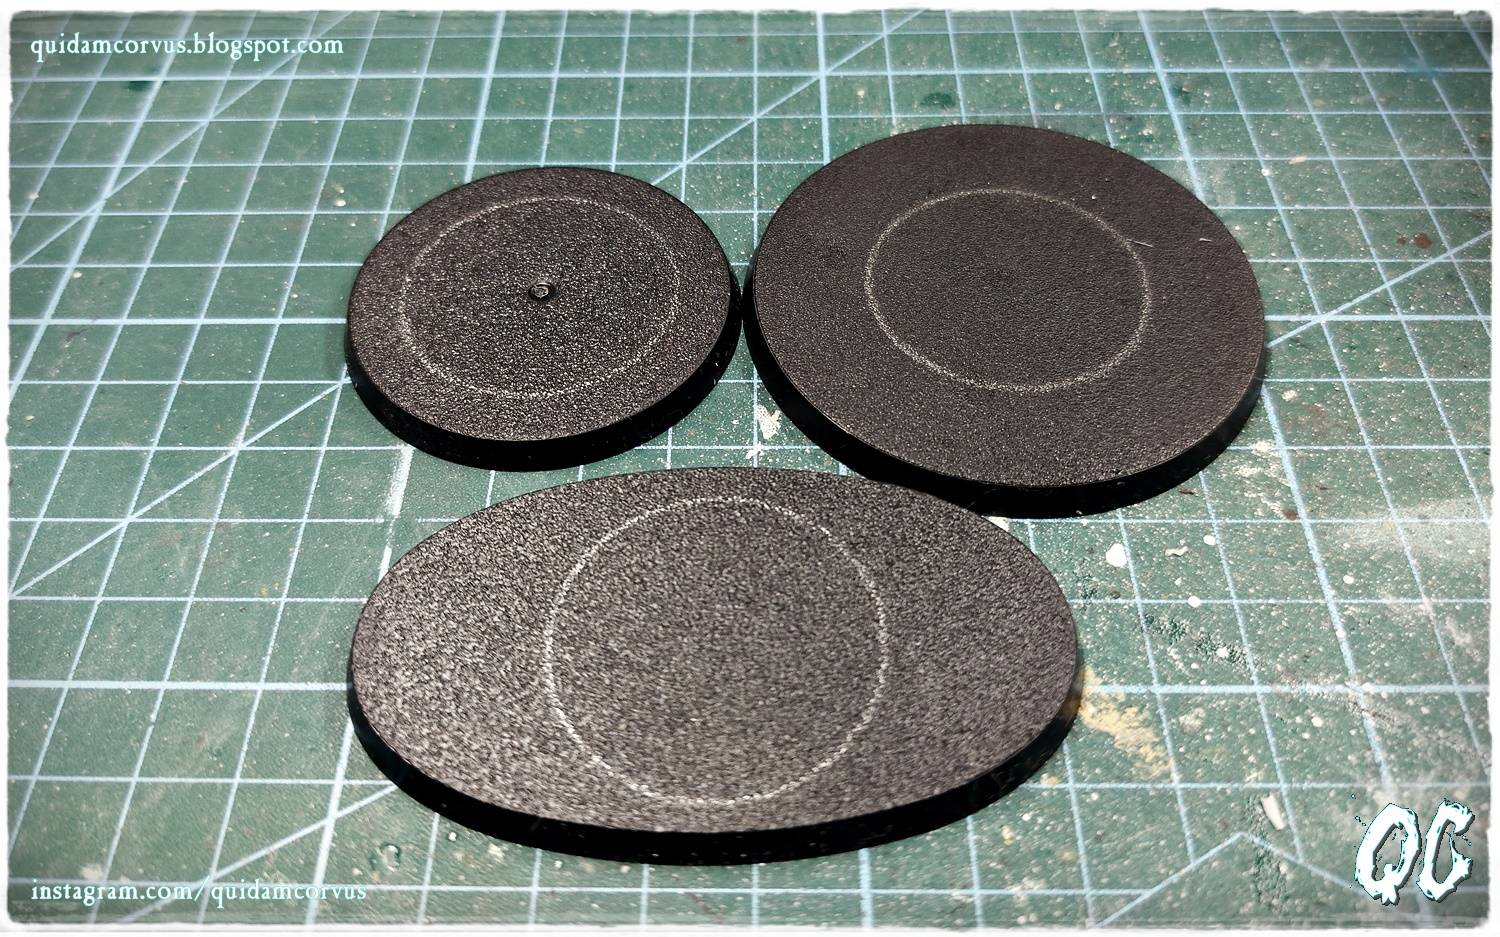
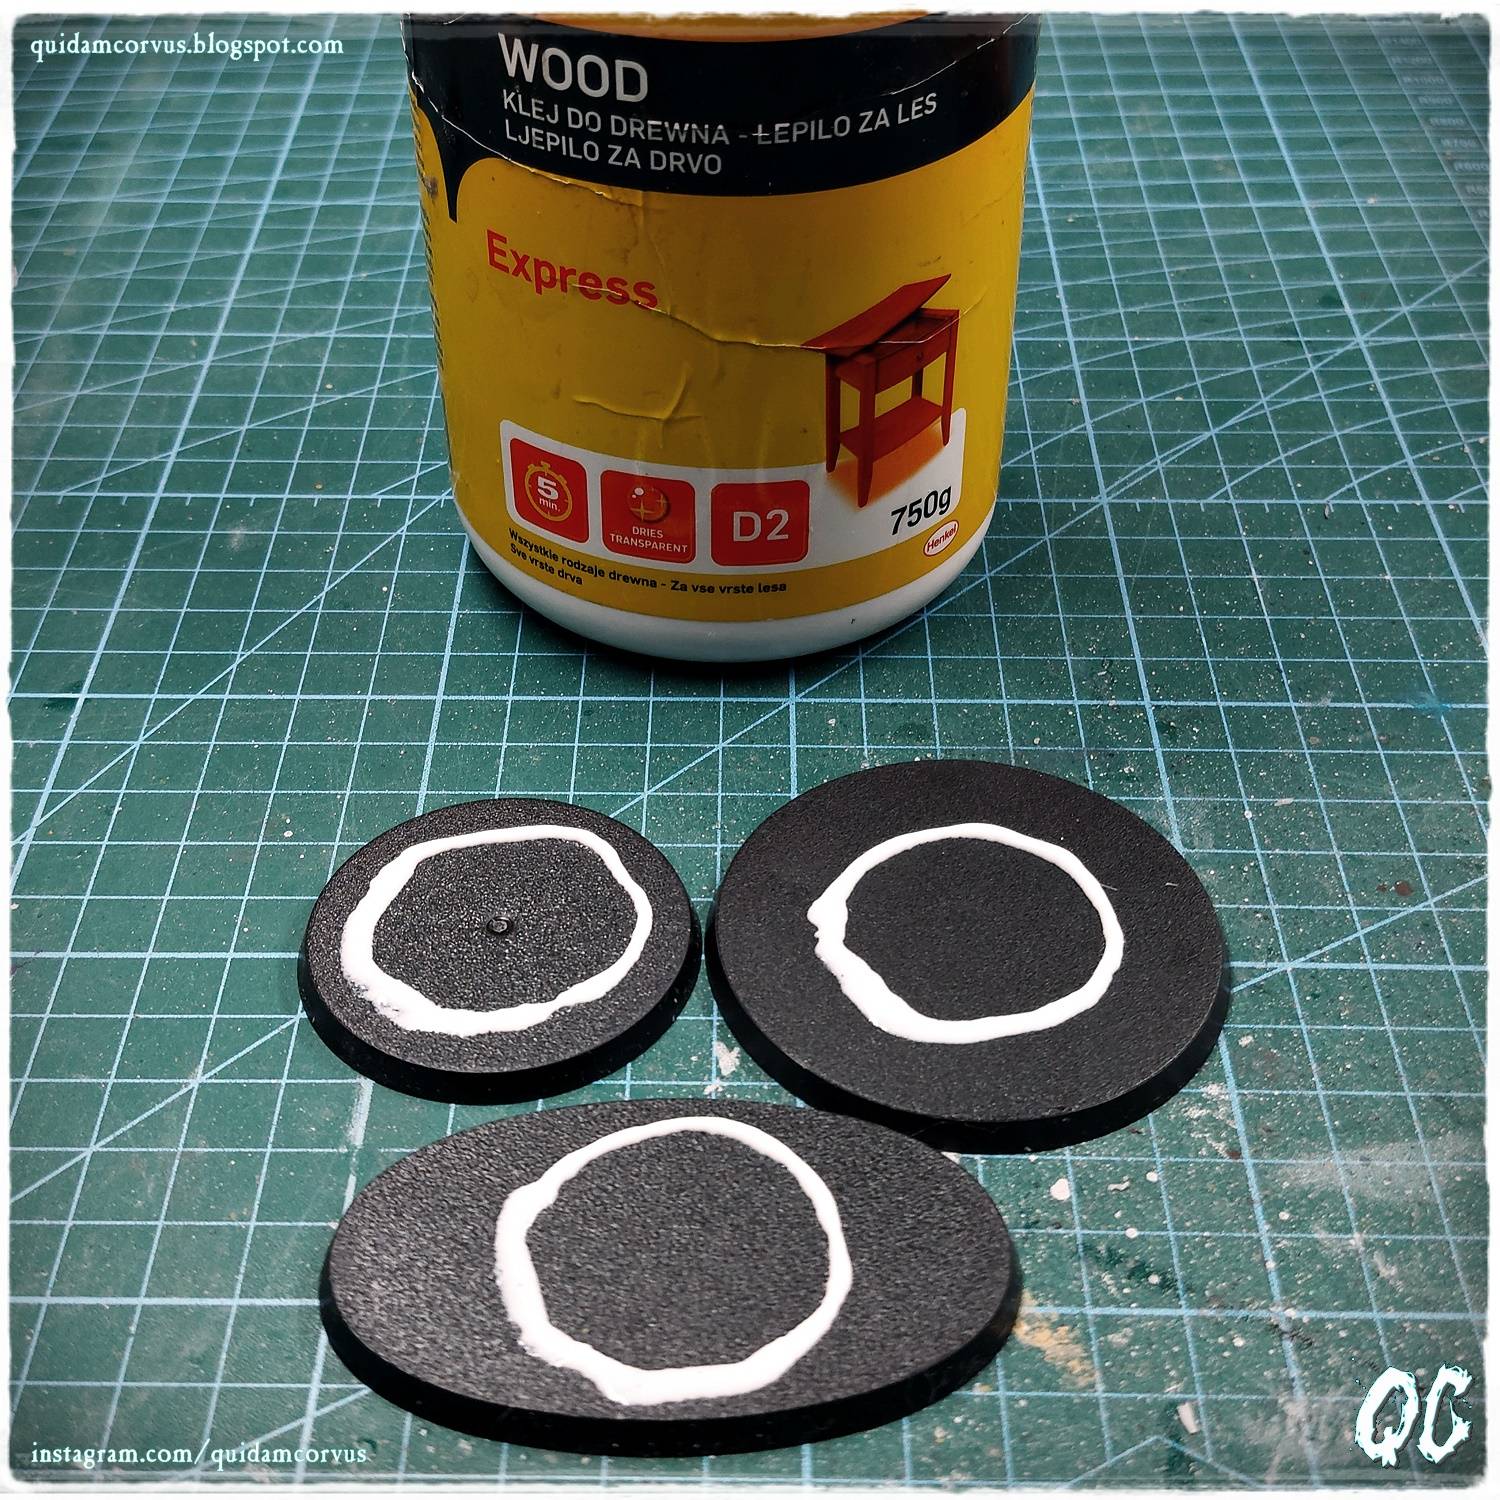
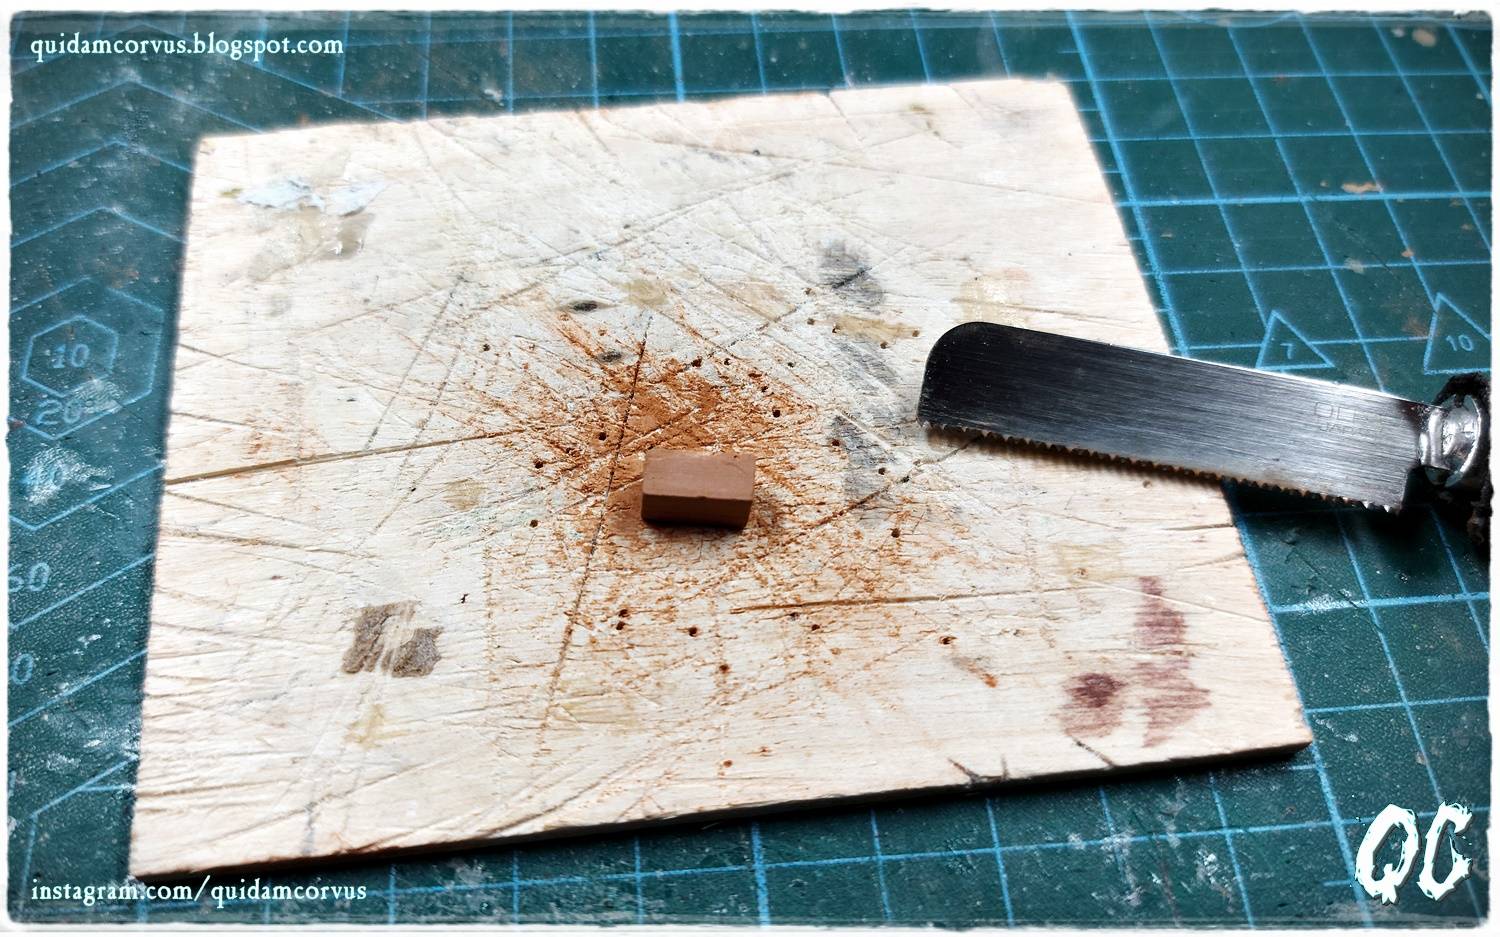
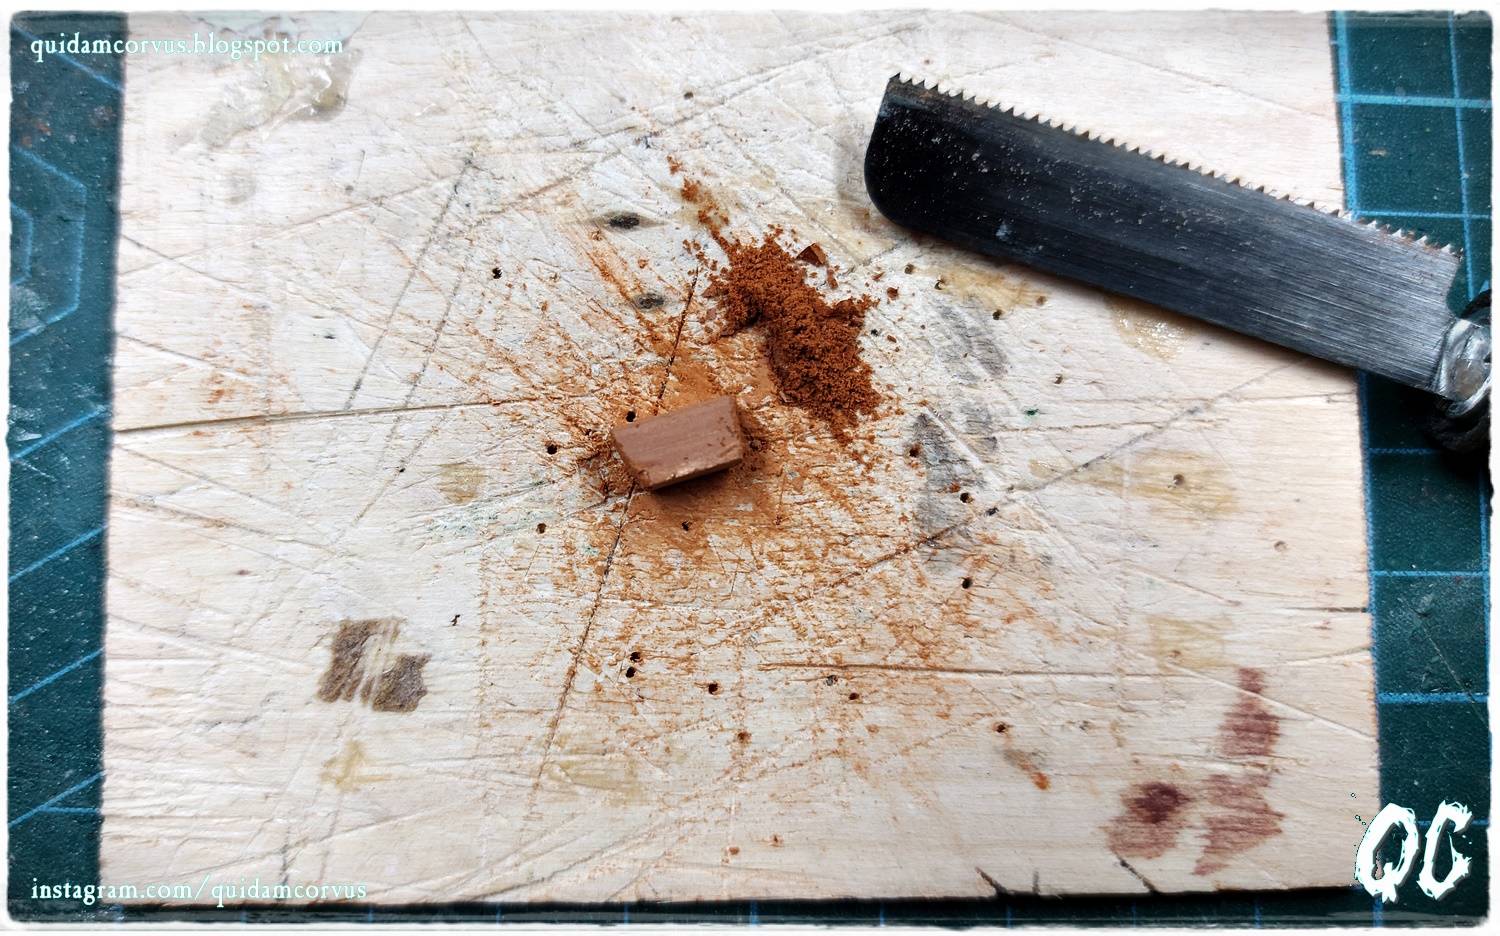
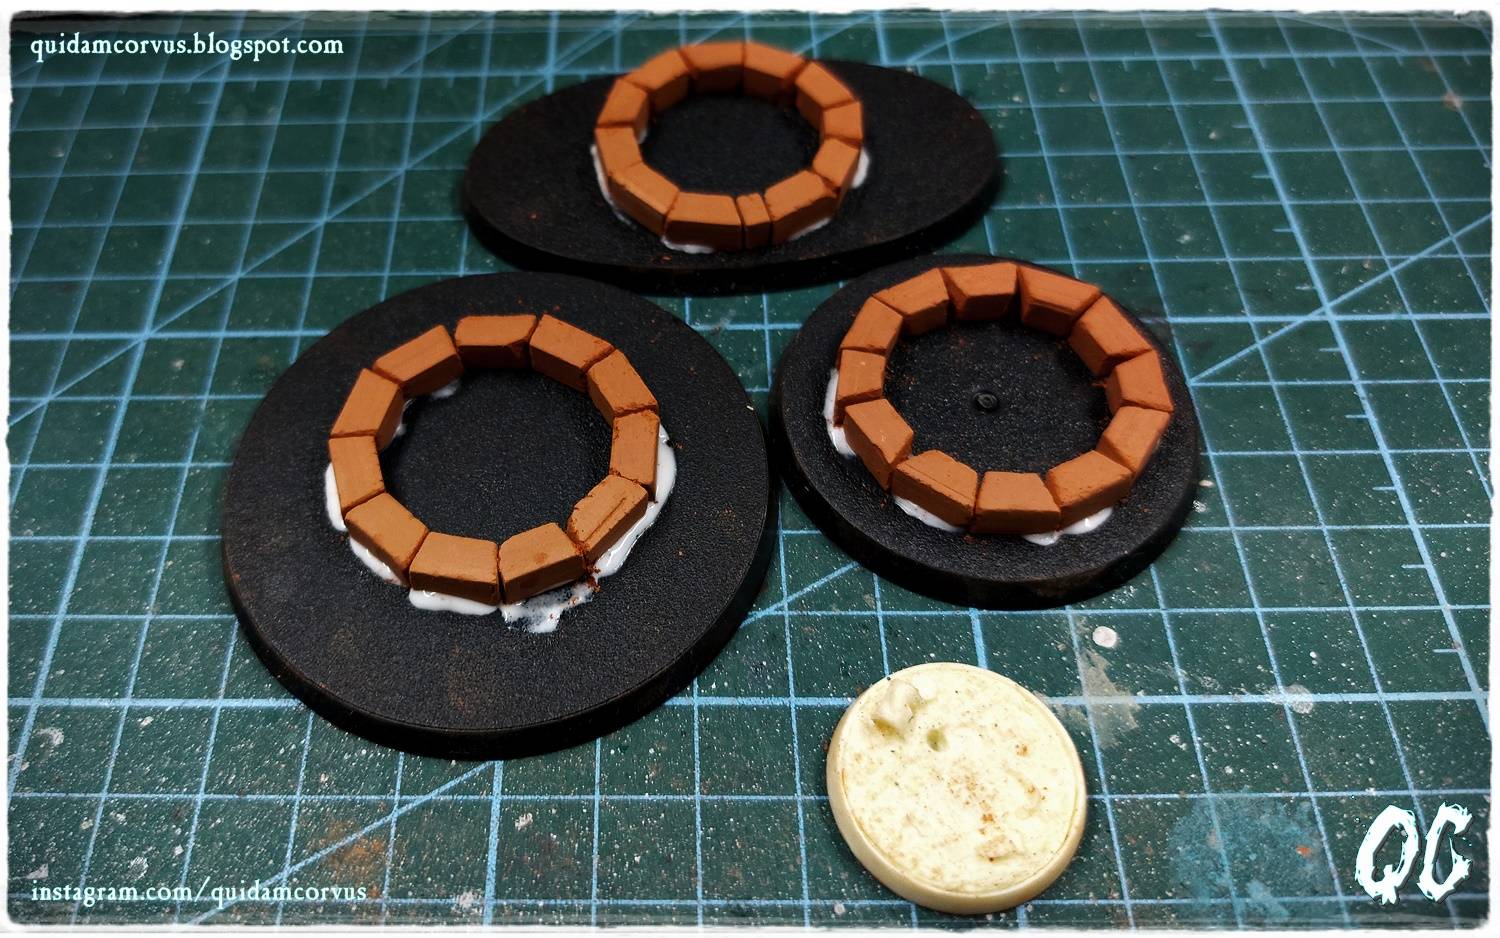
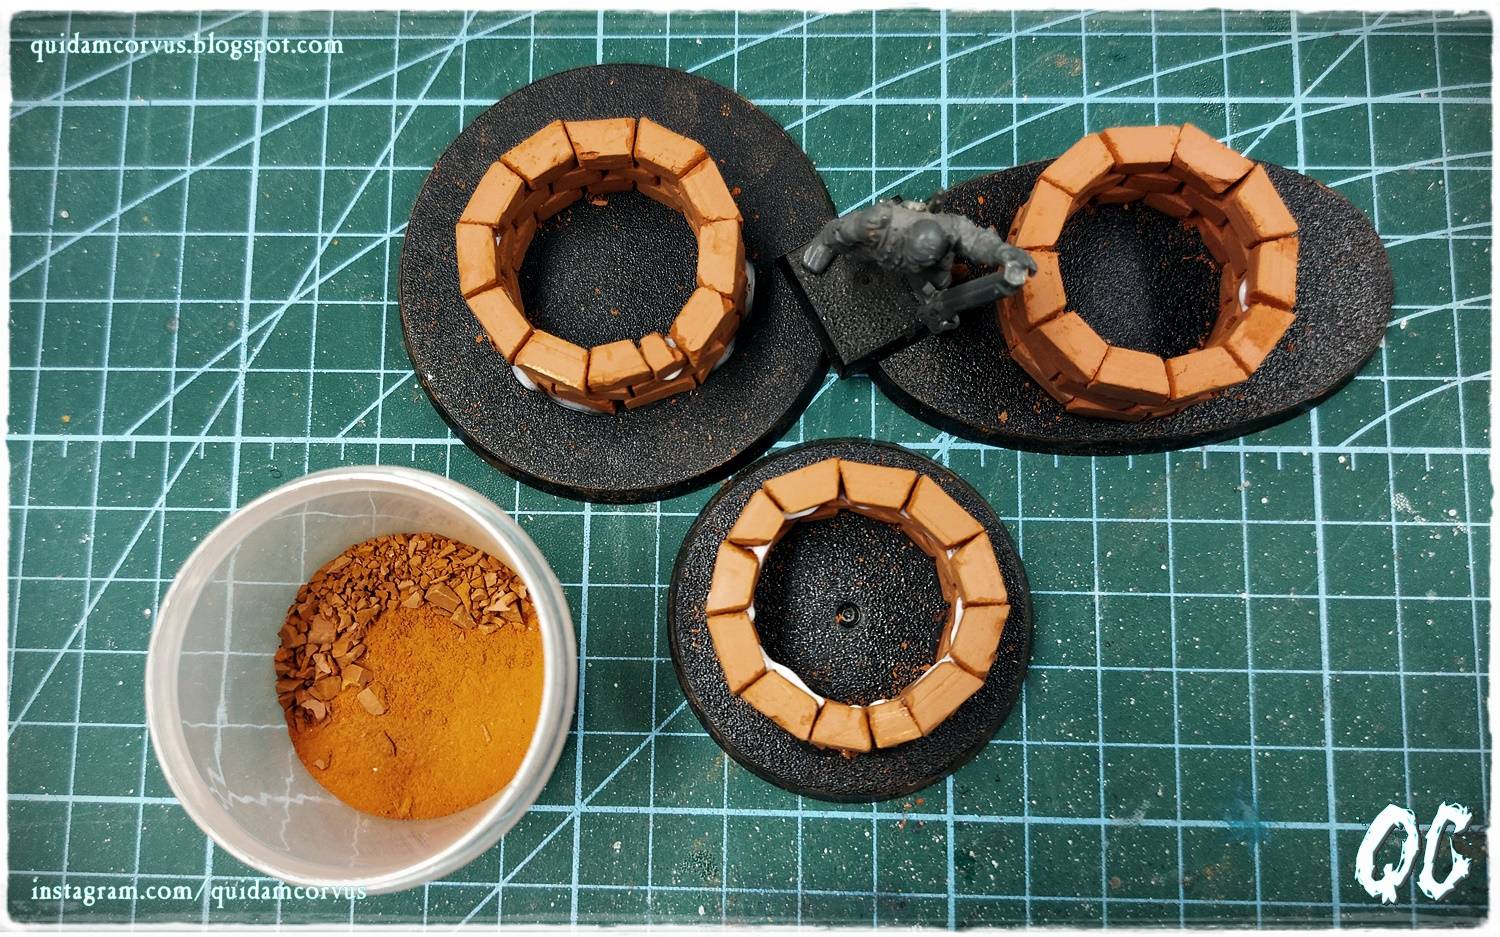
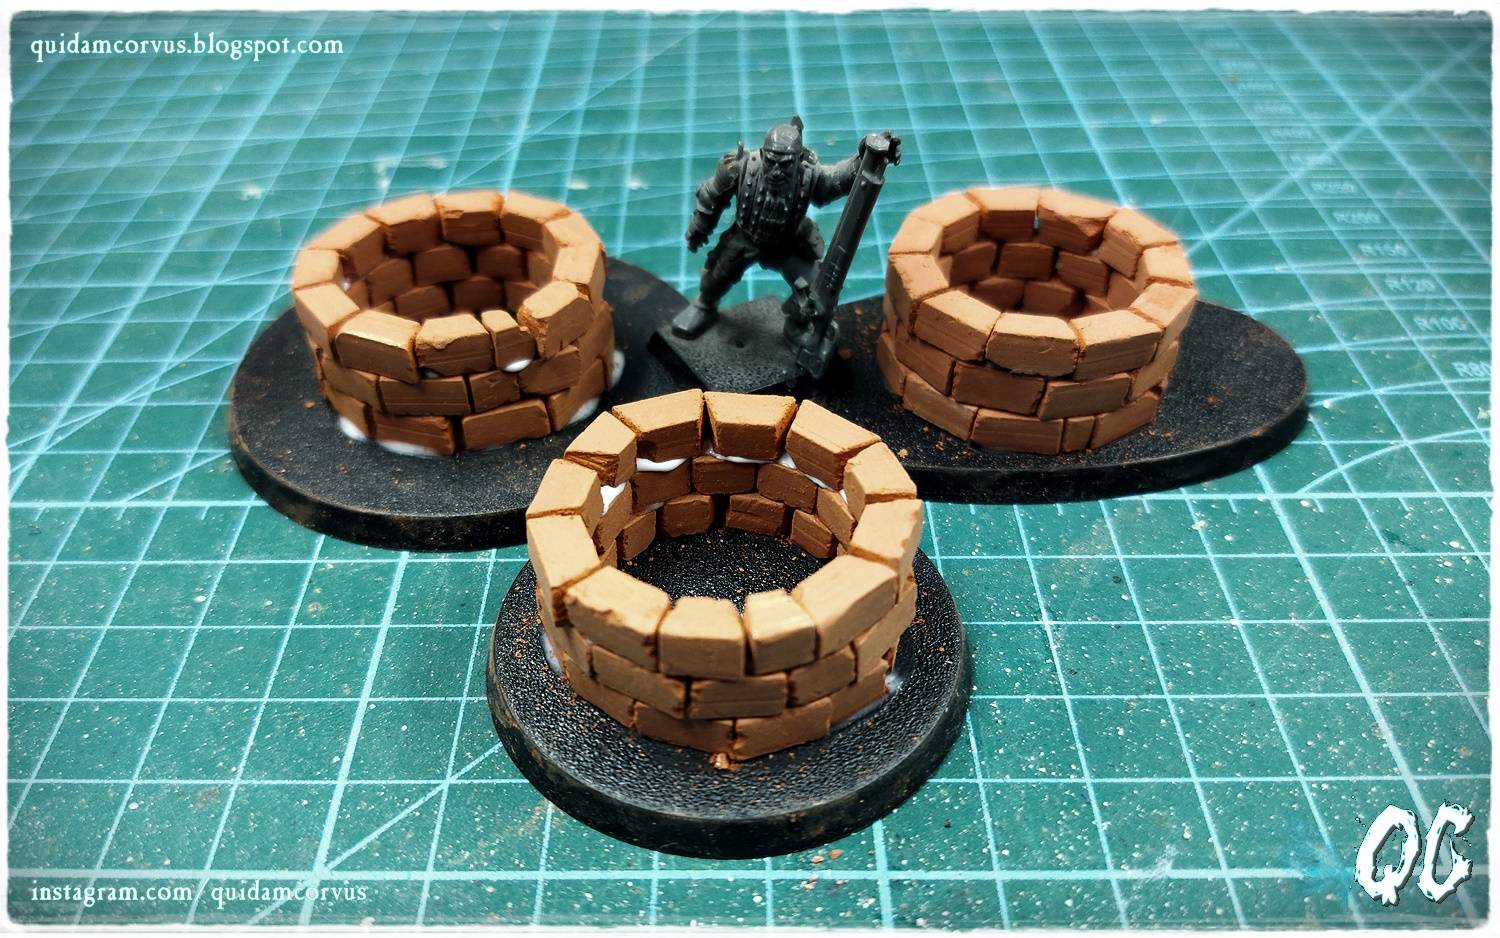
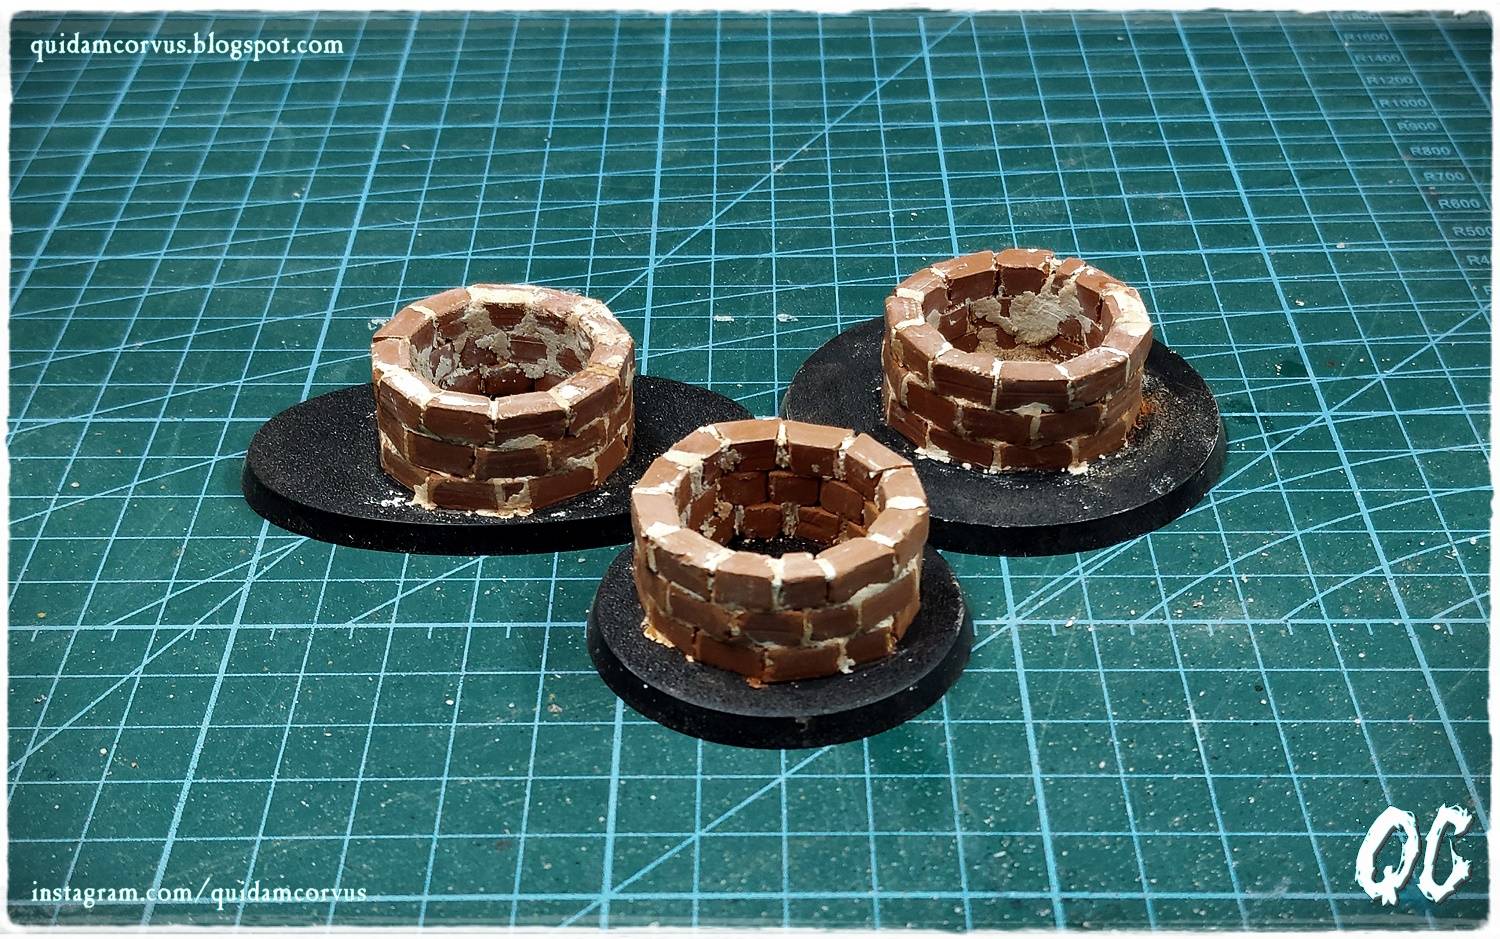
| W ramach odpoczynku od waloryzacji makiet i jako pretekst, bo zyskać trochę czasu na sklejenie modeli Raubritterów z Księstw Granicznych, postanowiłem zbudować trzy studnie. Umieszczone na podstawkach studnie będę elementami terenu, które będzie można umieścić w na różnych modułach stołu z ruinami Mordheim. Do budowy użyłem zgromadzonych w warsztacie elementów: glinianych cegiełek, drewnianych listewek, spinacza biurowego, piasku, gliny samoutwardzalnej, balsy i miedzianego druciku, a do klejenie użyłem kleju do drewna oraz kleju cyjanoakrylowego. *** Budowę studni rozpocząłem od odrysowania na podstawkach kręgów wyznaczających granicę studni. Do budowy użyłem przyciętych w trapezy glinianych cegiełek, które skleiłem klejem do drewna. Szczeliny między cegiełkami wypełniłem samoutwardzalną gliną. *** ...a publikacja ostatniej części zaplanowana jest na 01.02.2024. | As a break from valorizing building models and as an excuse to gain some time to glue the miniatures the Raubritter from the Border Princes, I decided to build three wells. Wells placed on different bases will be scatter terrain that can be placed, depending on needs, on various modules of the Mordheim ruins table. For construction, I used elements collected in the workshop: clay bricks, wooden strips, a paper clip, sand, self-hardening clay, balsa wood and copper wire, and for gluing I used wood glue and cyanoacrylate glue. *** I started building the well by drawing circles on the bases marking the boundary of the well. For construction, I used clay bricks cut into trapezoids and glued with wood glue. I filled the gaps between the bricks with self-hardening clay. *** The guide is divided into 3 parts... ...and the publication of the last part is scheduled for February 01, 2024. |
Strony
▼


Brak komentarzy:
Prześlij komentarz