
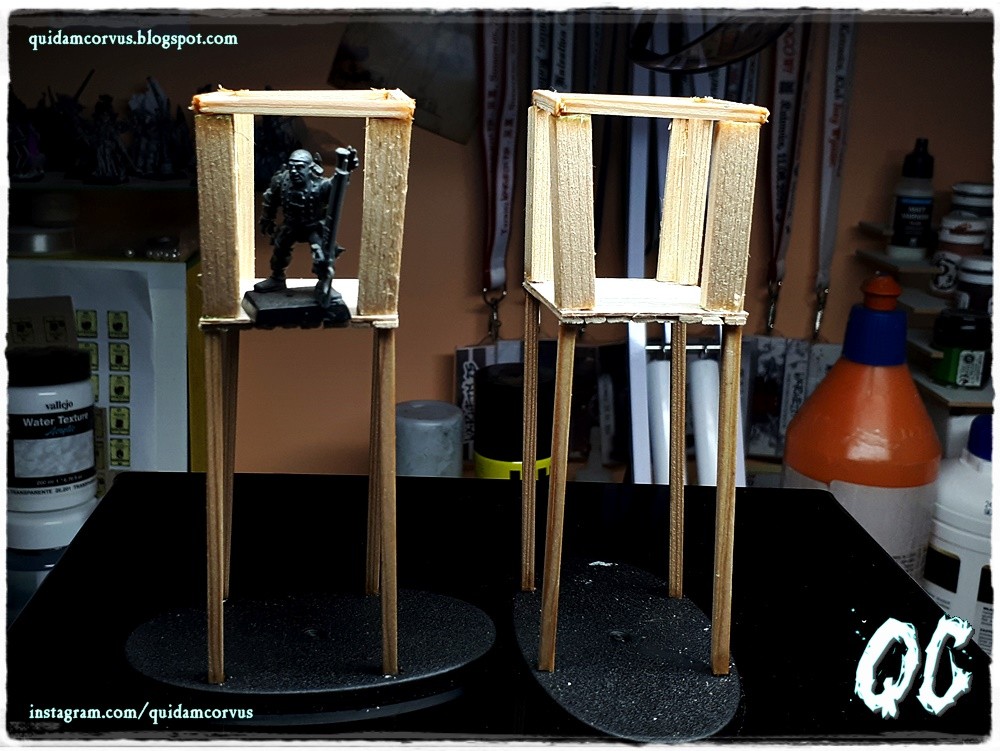
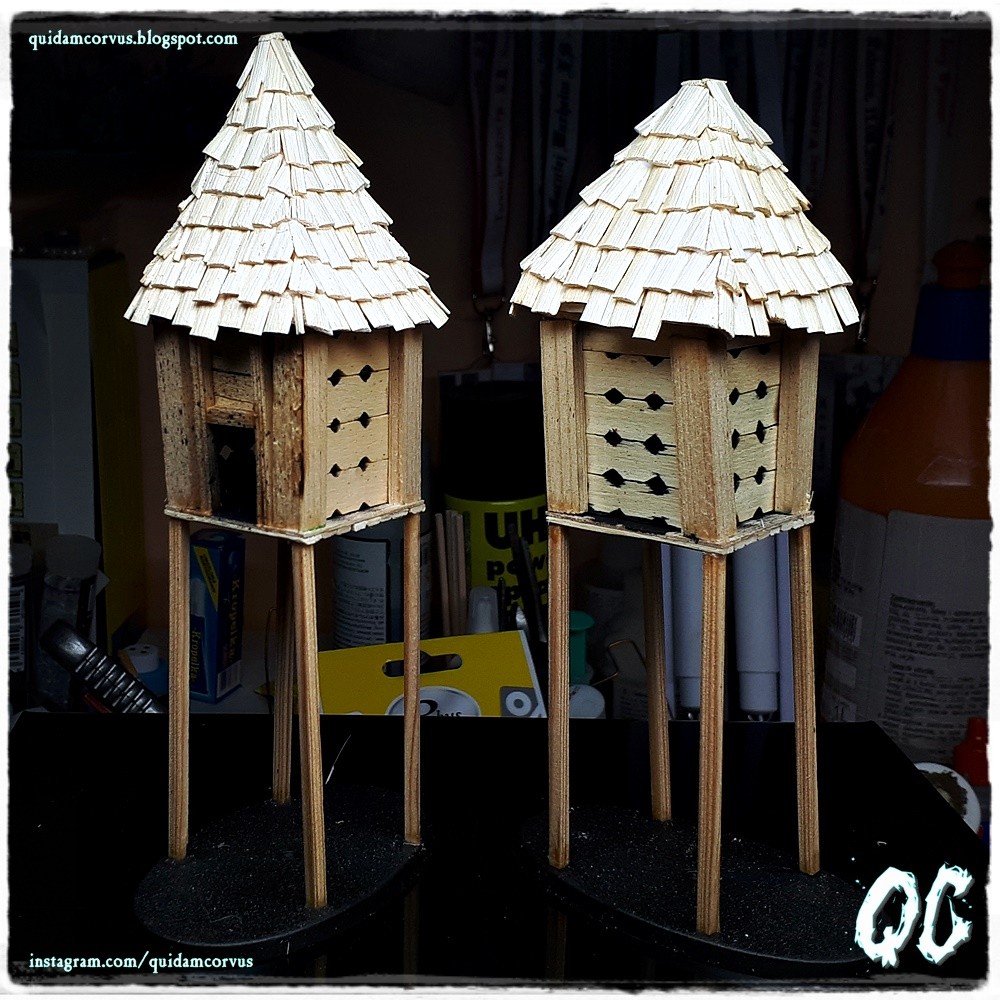
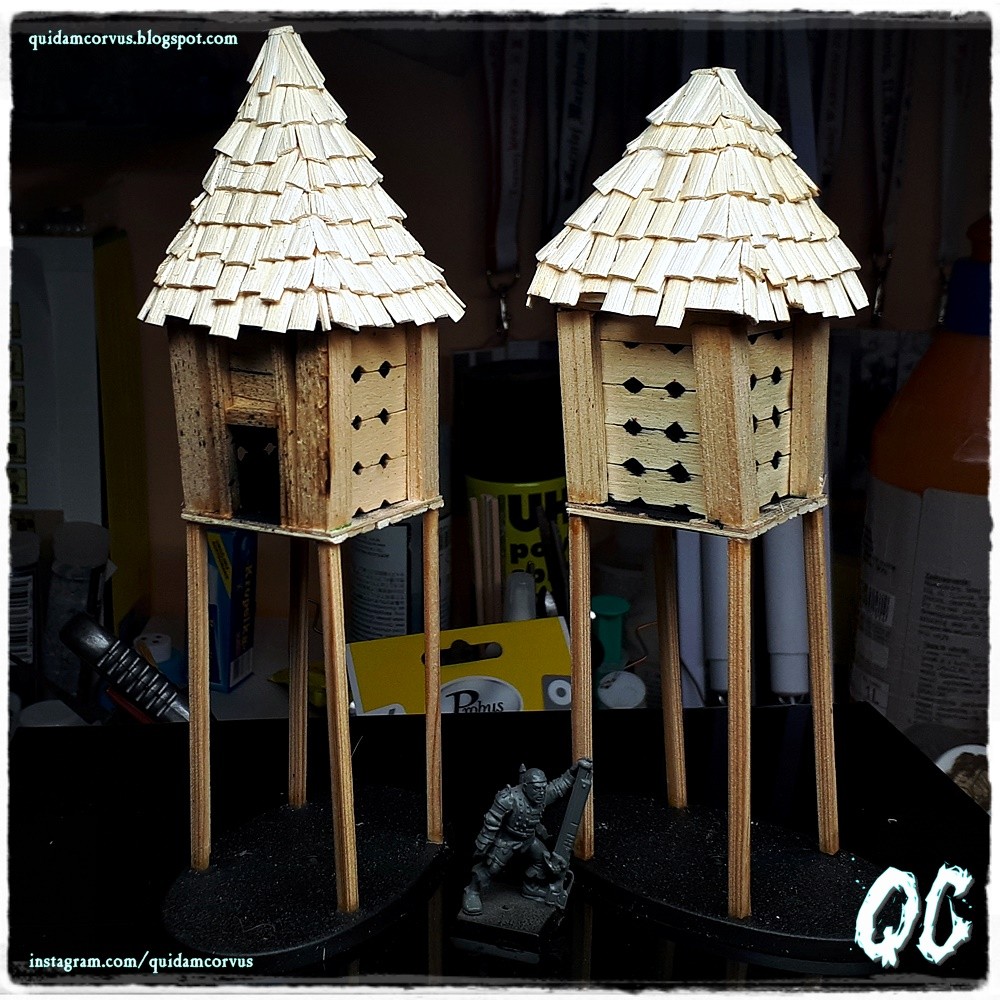
| Budując wieś Teufelsberg do Warheim FS postanowiłem umieścić pomiędzy zwaloryzowanymi dużymi budynkami pruskiej wioski od firmy Tereny do Gier, także inne mniejsze budowle małej architektury. I tak, oprócz studni, które prezentowałem Wam na blogu DansE MacabrE dwa tygodnie temu, zbudowałem także dwa serniki. A może Wy macie pomysły na inne budynki? Nie jestem znawcą historii architektury i pewnie dlatego pierwszy raz spotkałem się z sernikiem podczas lektury Trylogii Husyckiej autorstwa Andrzeja Sapkowskiego, trylogię swoją drogą na blogu polecałem TUTAJ. Natomiast swoją konstrukcję oparłem na zdjęciach opublikowanych na stronie Muzeum Rolnictwa w Ciechanowcu. | When building the village of Teufelsberg for Warheim FS, I decided to put between the valorized buildings of the Prussian village from Tereny do Gier, also other smaller buildings. And so, in addition to the wells that I presented to you on the DansE MacabrE blog two weeks ago, I also built two Cheese house (I don't know if it's a good translation, I couldn't find the right word in English). Or maybe you have ideas for other buildings? To be honest, I met the cheesecake for the first time while reading the Hussite Trilogy by Andrzej Sapkowski (This author also wrote The Witcher), which I recommended on the blog HERE. However, I based my construction on photos published on the website of the Museum of Agriculture in Ciechanowiec. |
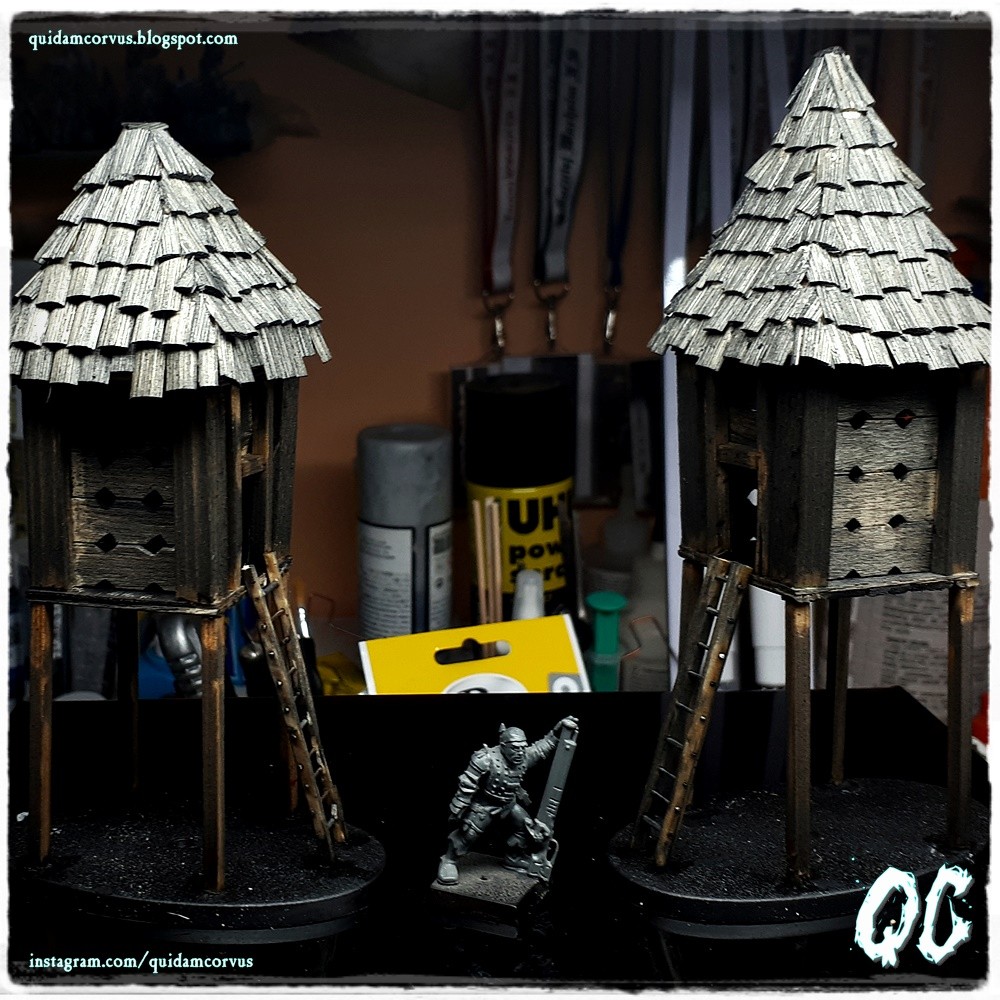
Do budowy użyłem drewnianych sosnowych listewek o różnej grubości i szerokości oraz fragmentów balsy, a także owalnych plastikowych podstawek.
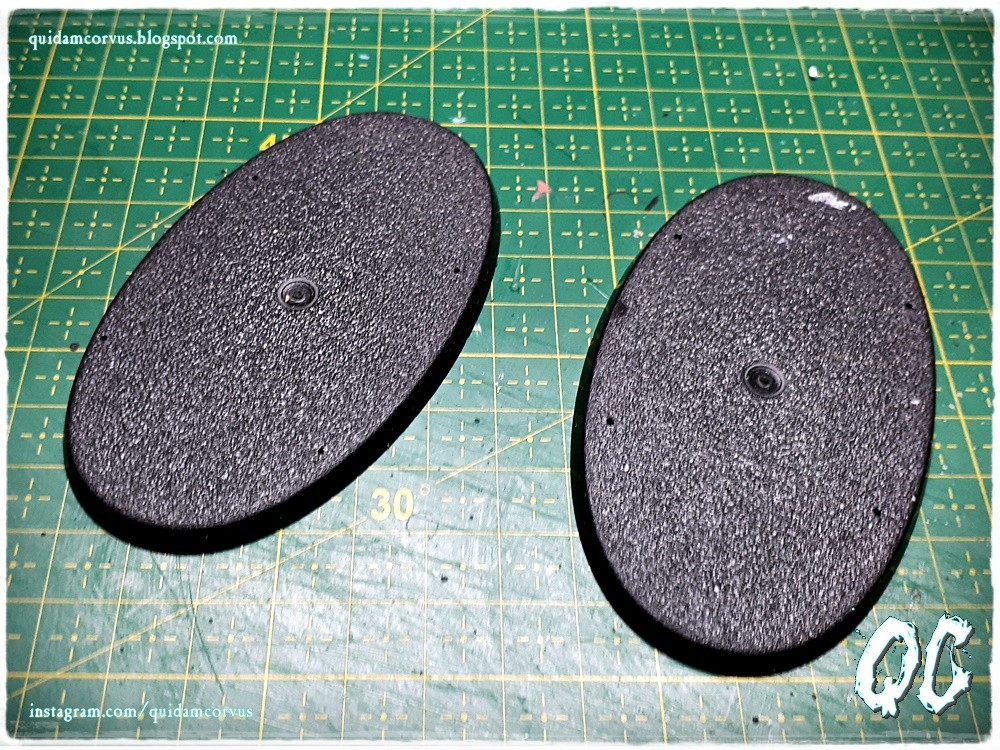
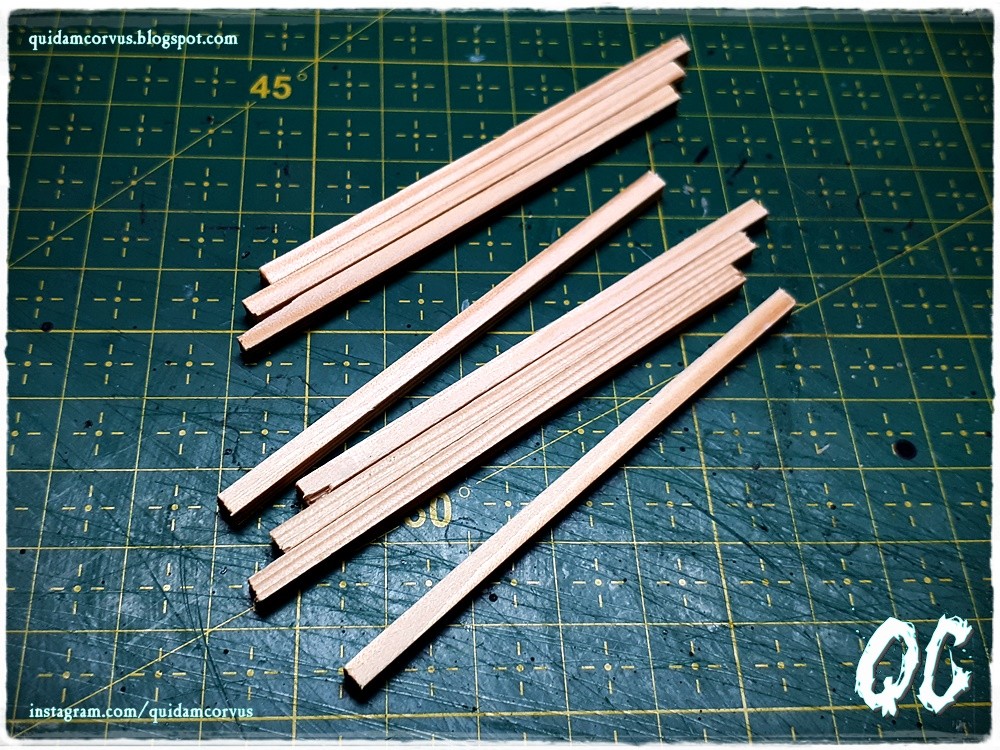
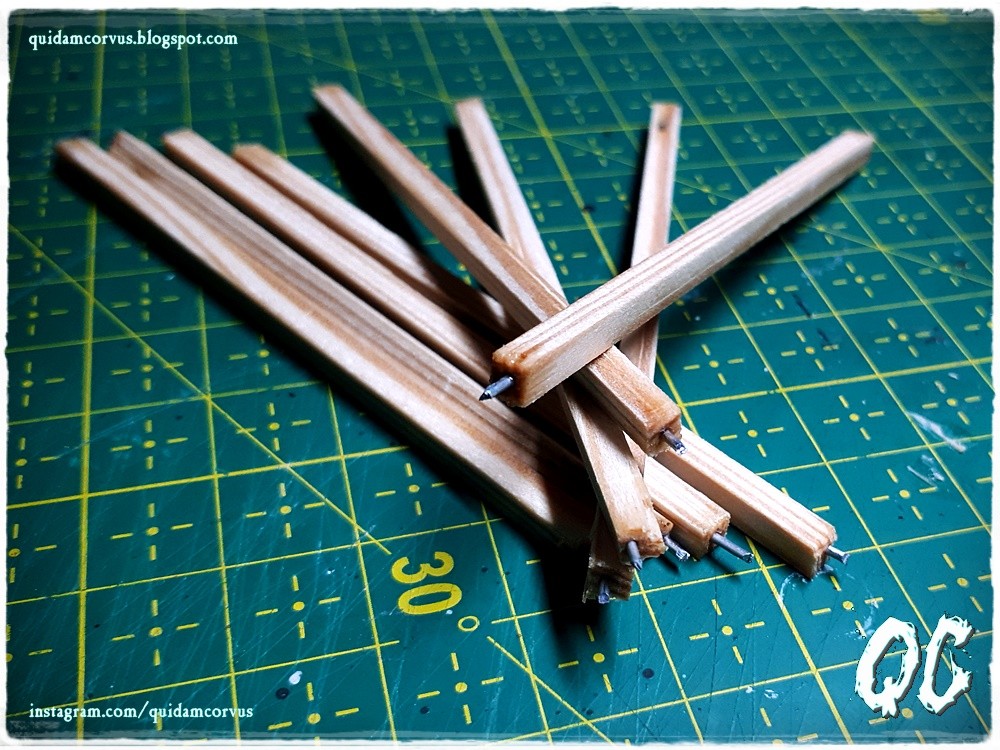
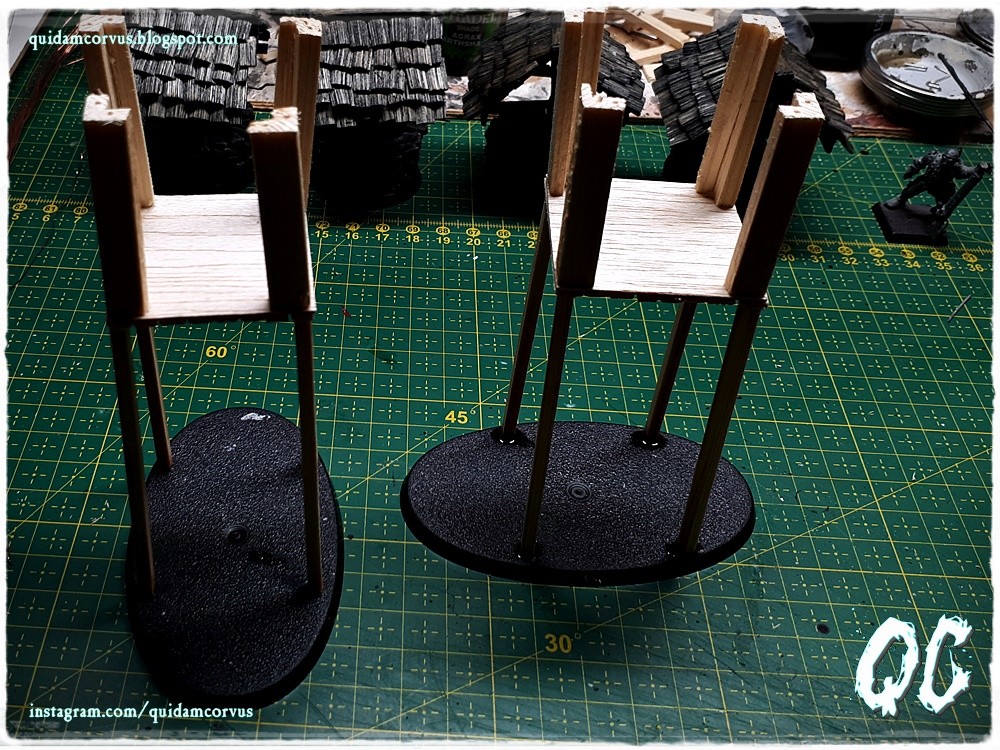
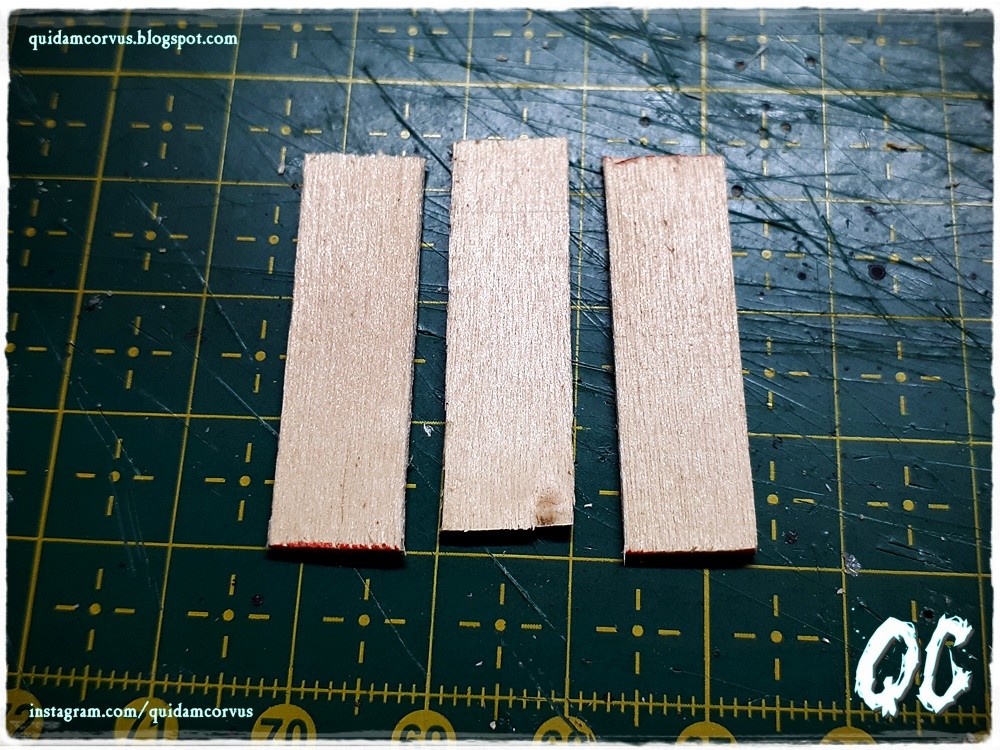
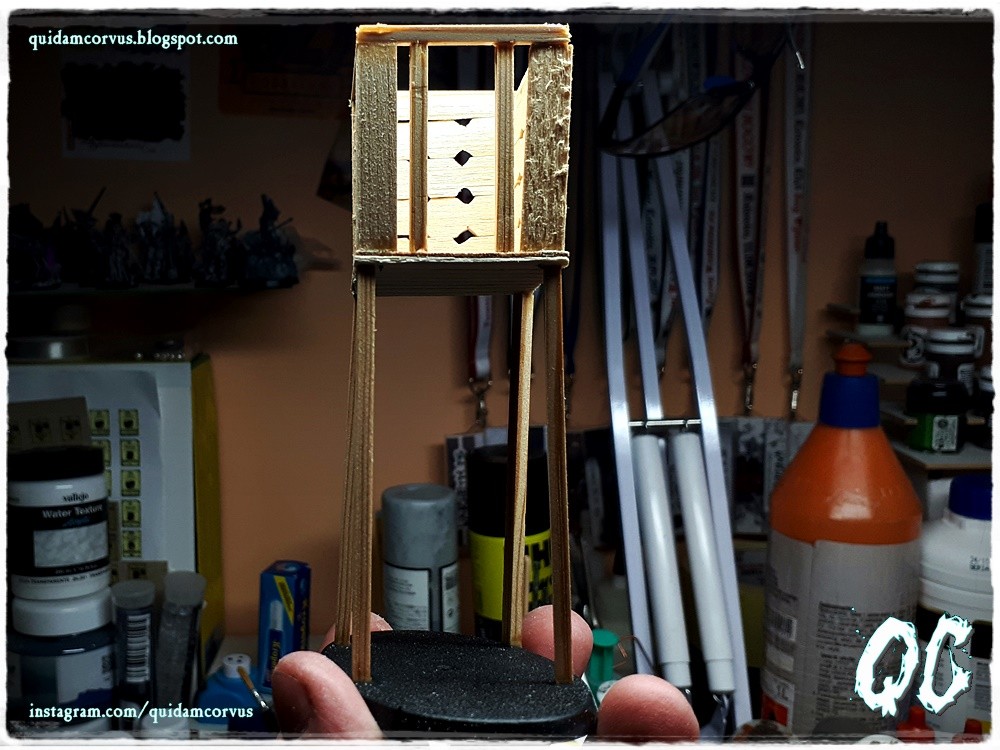
Prace rozpocząłem od wywiercenia w każdej z podstawek 4 otworów montażowych, w których zostaną umieszczone piny osadzone w drewnianych listewkach pełniących rolę belek na których będą stały budynki. Dla każdego budynku przygotowałem 4 listewki, które przyciąłem na długość 8 cm, jak się okazało później było to za dużo i skróciłem długość do 6 cm. Na końcach każdej listewki wywierciłem otwór montażowy w którym umieściłem piny wykonane ze spinacza biurowego, który przykleiłem klejem cyjanoakrylowym. |
For construction, I used wooden pine slats of various thickness and width, and fragments of balsa, as well as oval plastic bases that remained after sets of miniatures from Games Workshop.
I started work by drilling 4 mounting holes in each of the bases, in which pins will be placed embedded in wooden slats acting as beams on which the buildings will stand.
For each building I prepared 4 slats, which I cut to a length of 8 cm, as it turned out later it was too much and shortened the length to 6 cm.
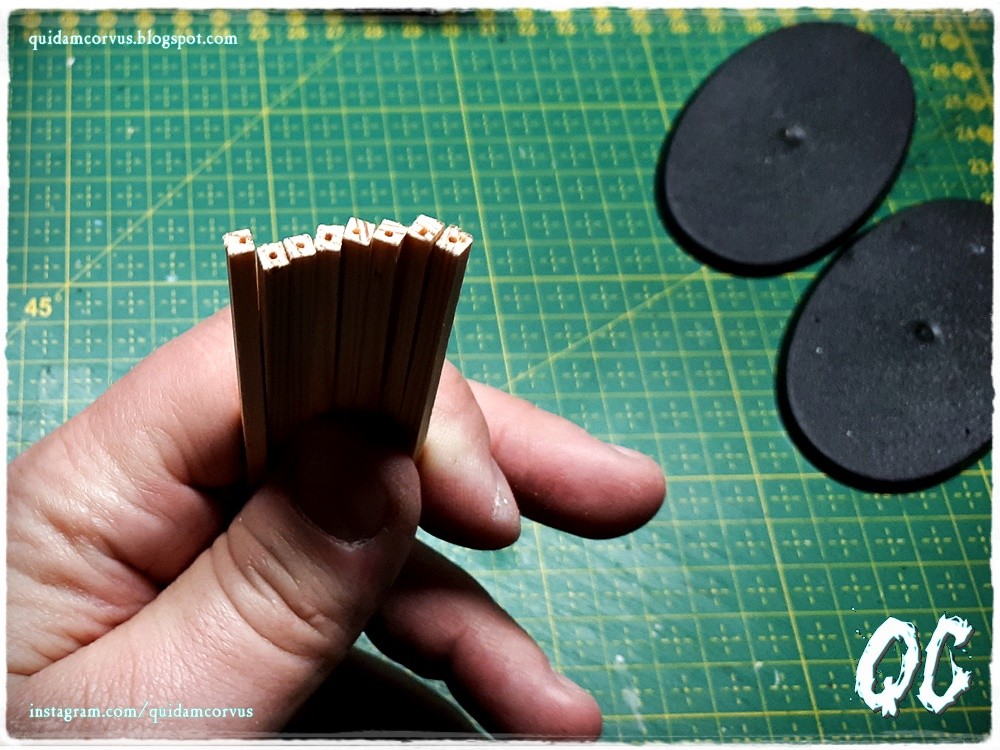
At the ends of each slats, I drilled a mounting hole in which I put pins made of a paper clip, which I glued with cyanoacrylate glue.
|
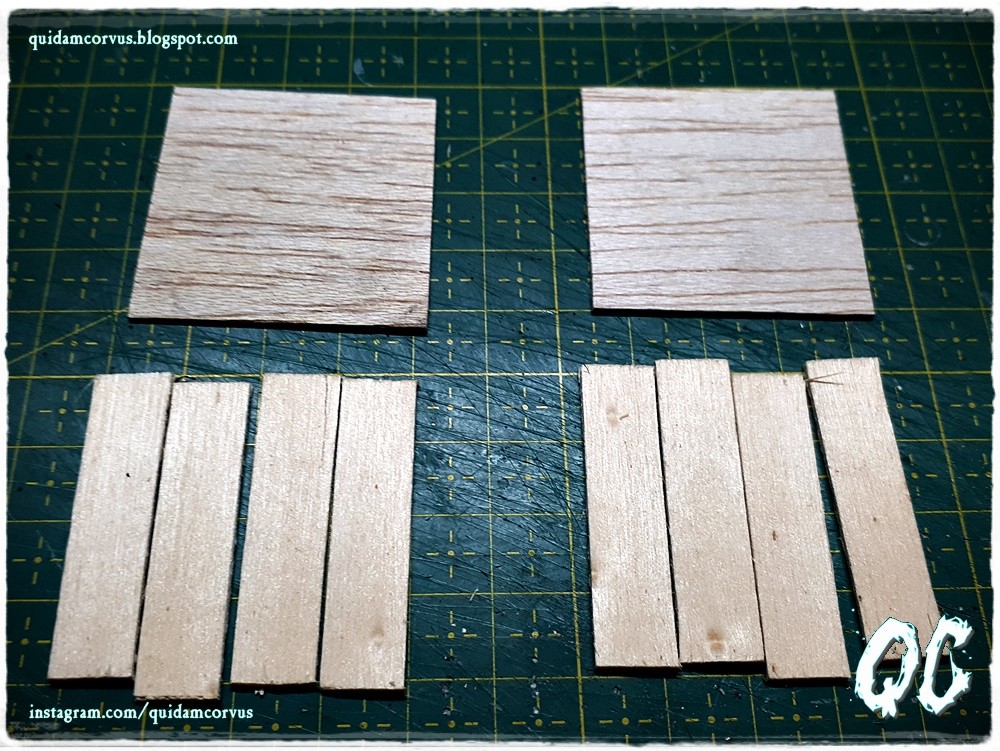
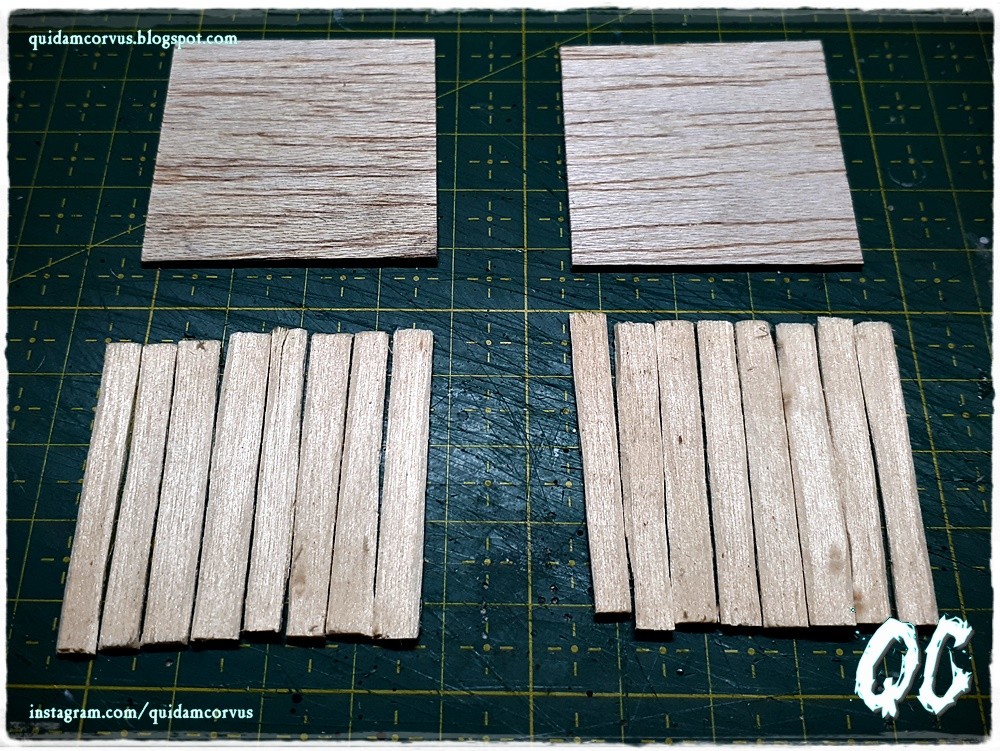
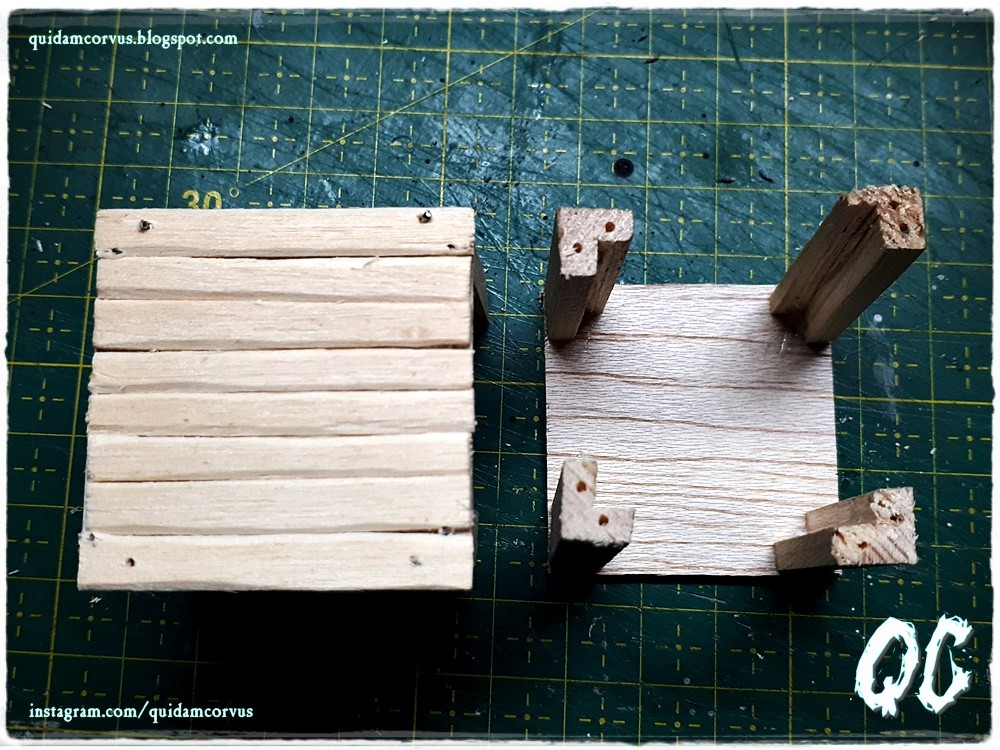
Następny krok to przygotowanie podłogi.
Do tego celu użyłem przyciętego do kwadratu o boku 4 cm fragmentu balsy, na który z jednej strony nakleiłem listewki o szerokości około 5 mm. |
The next step is to prepare the floor.
For this purpose, I used a trimmed fragment of a square balsa with a side of 4 cm, on which I glued slats about 5 mm wide on one side. |
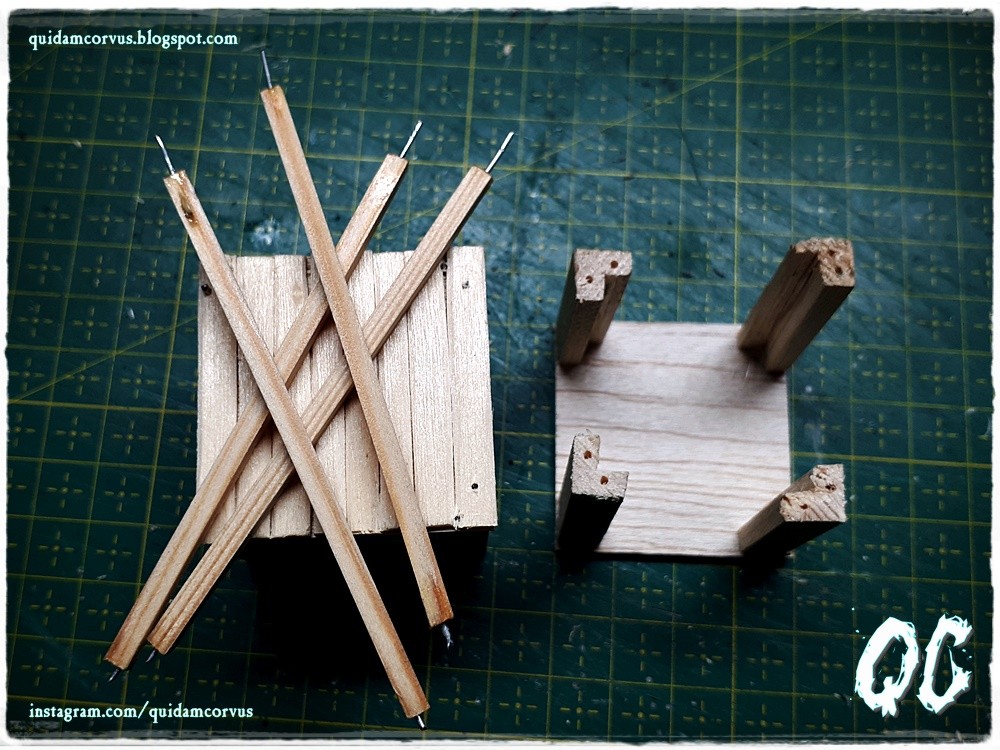
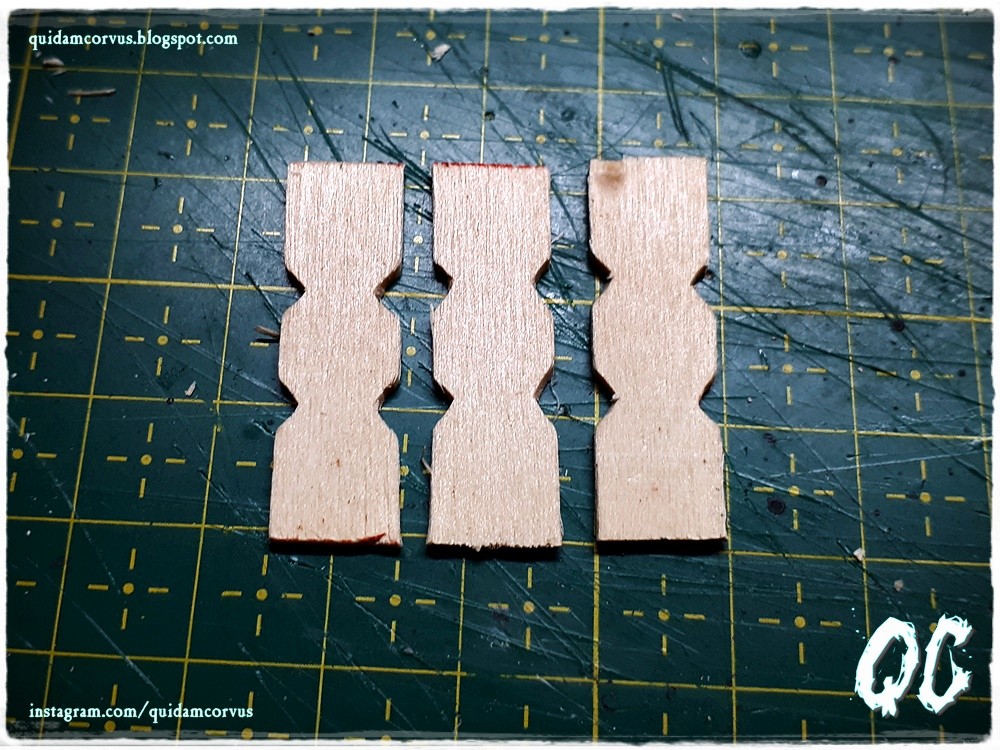
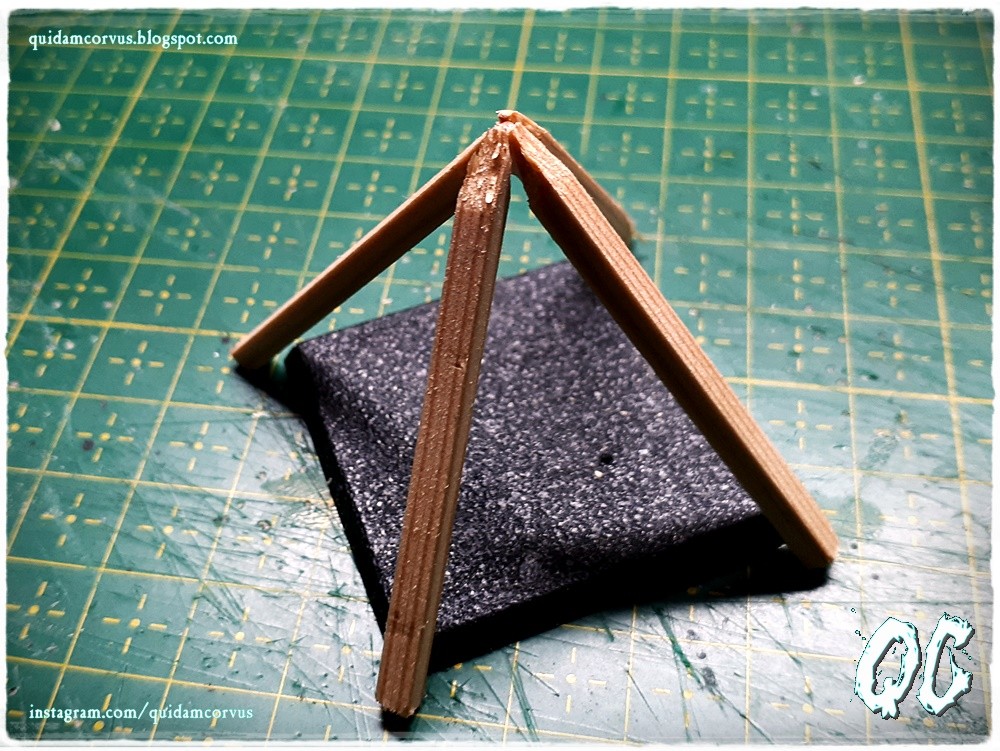
Z listwy o przekroju kwadratu o boku 1 cm wyciąłem długie na 4 cm odcinki, które następnie przyciąłem tak, by uzyskać przekrój w kształcie litery "L".
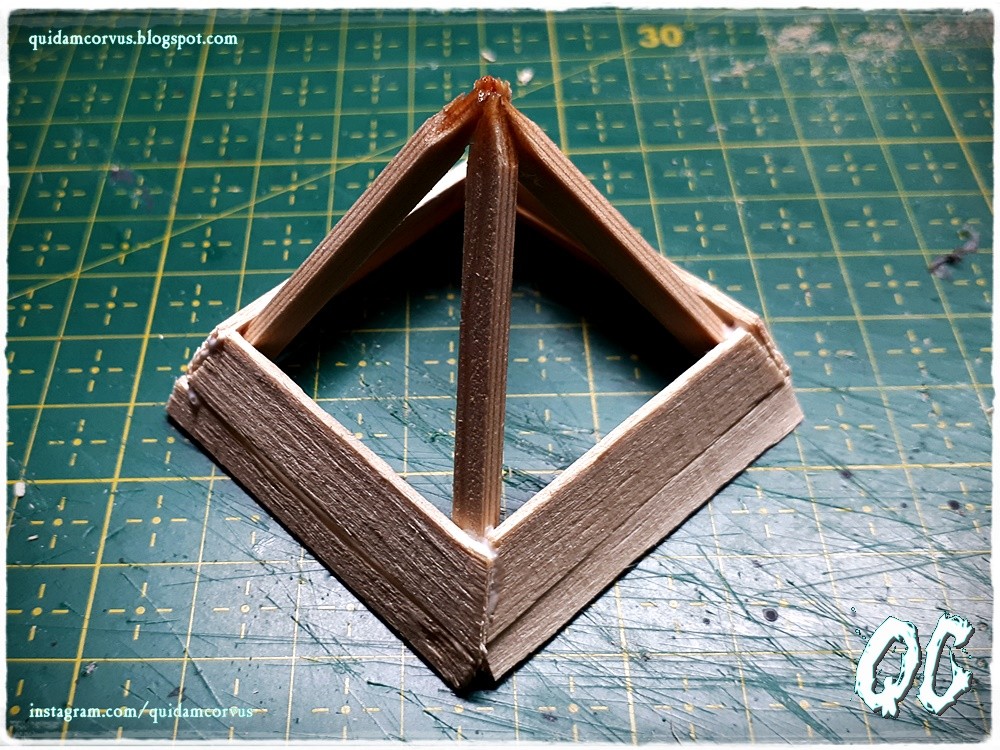
Na końcach każdej z belek wywierciłem po 2 otwory montażowe, jednak tylko na jednym końcu umieściłem piny, którymi połączyłem belki z podłogą. Następnie całość umieściłem na przygotowanych wcześniej podporach. |
After preparing the floor, I cut out 4 cm long sections from a 1 cm square slat, which I then cut to obtain the "L" shaped cross section.
Then I put the whole on the previously prepared columns. |
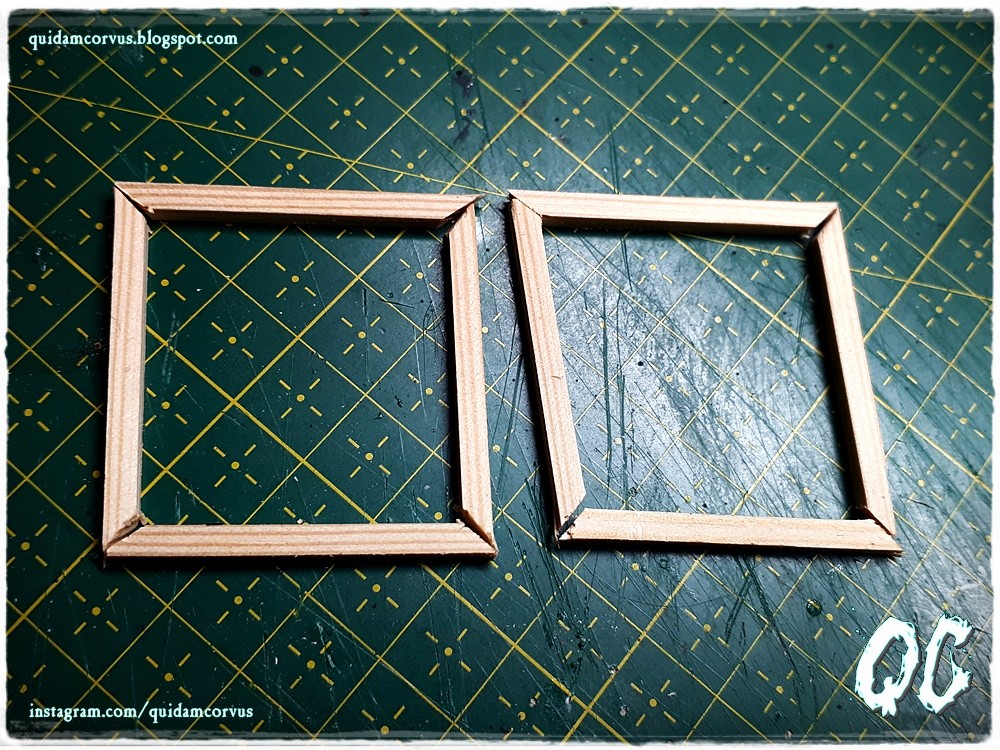
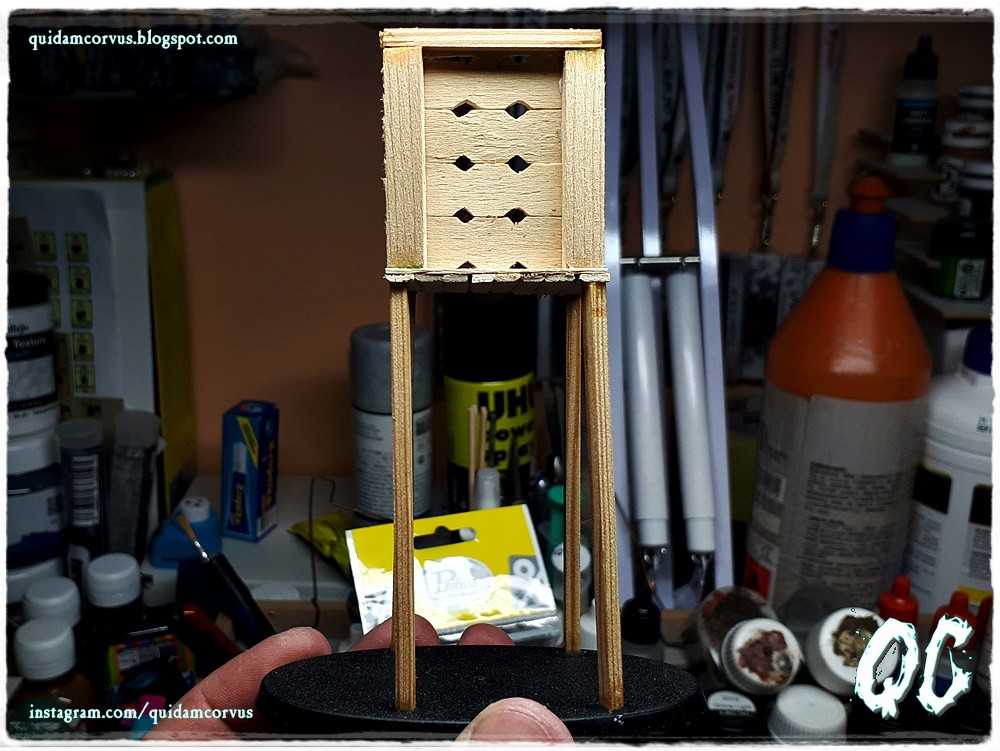
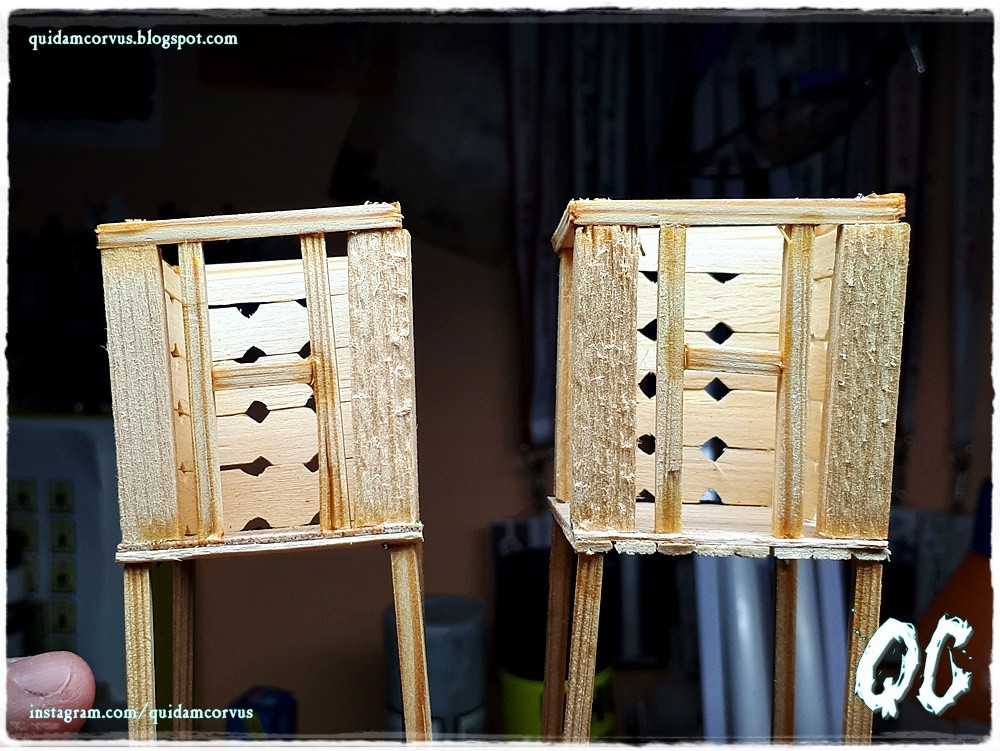
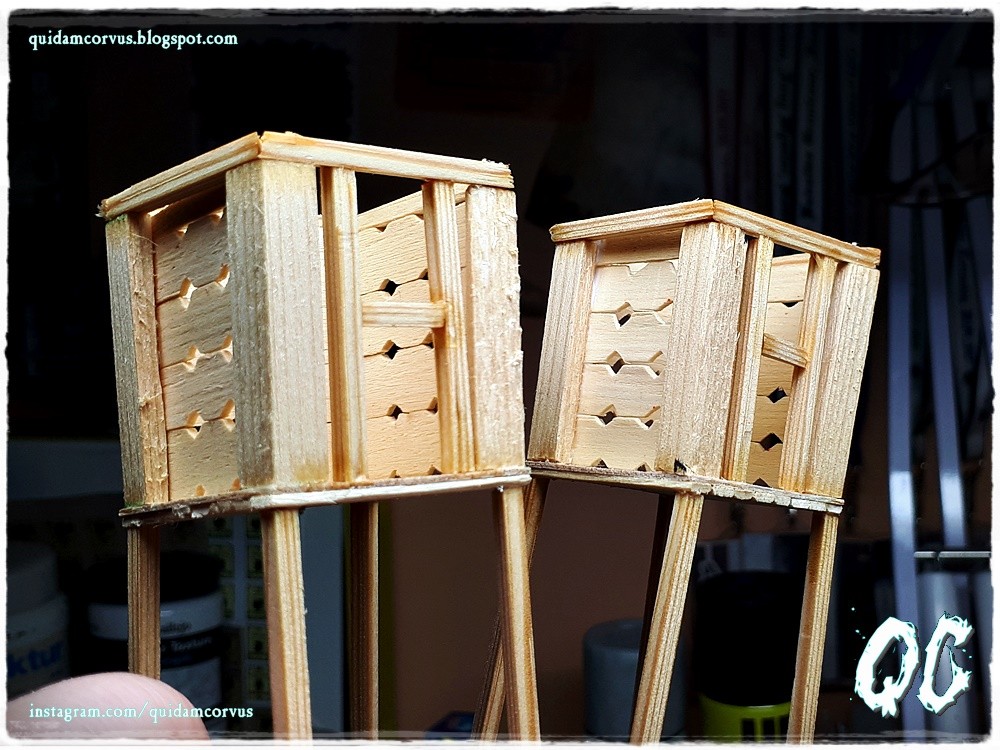
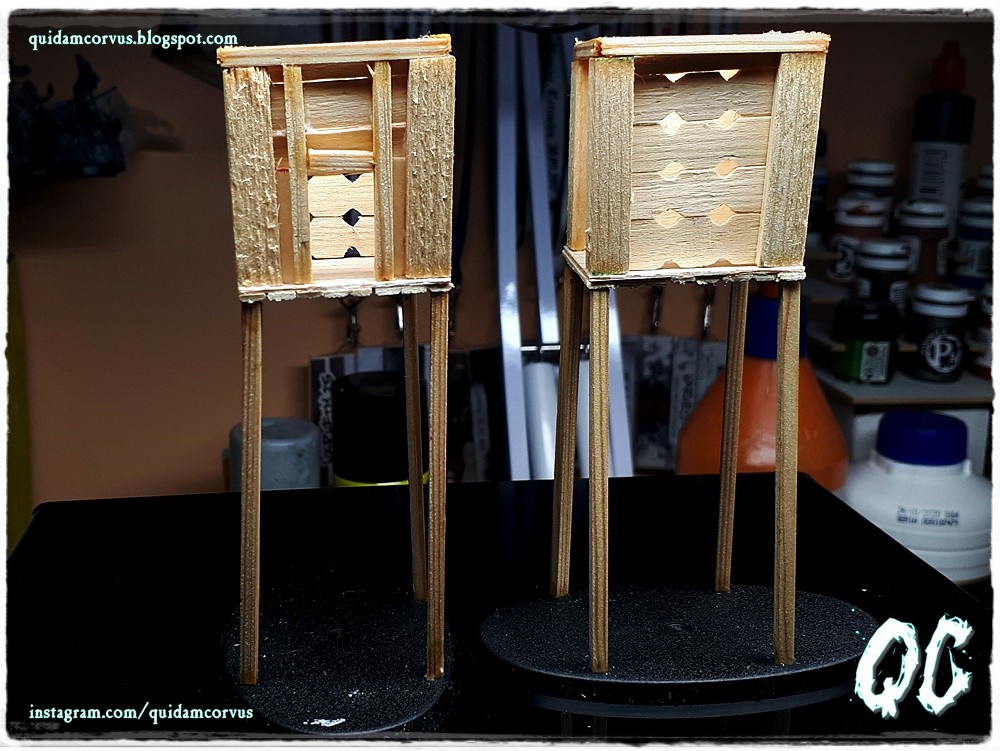
Ściany wykonałem z płaskich drewnianych listewek o szerokości 1 cm, w których dodatkowo na bokach wyciąłem trójkątne fragmenty, tak by złożeniu w całość powstały otwory w kształcie kwadratów.
Natomiast z przodu z listewek o przekroju kwadrata wyciąłem odcinki z których skleiłem futrynę otworu wejściowego do wnętrza budynku. |
The walls were made of flat wooden slats 1 cm wide, in which I additionally cut out triangular fragments on the sides so that, assembled, square holes were formed.
Whereas at the front from the slats with a square cross-section I cut out sections from which I glued the door frame of the entrance hole to the interior of the building. |
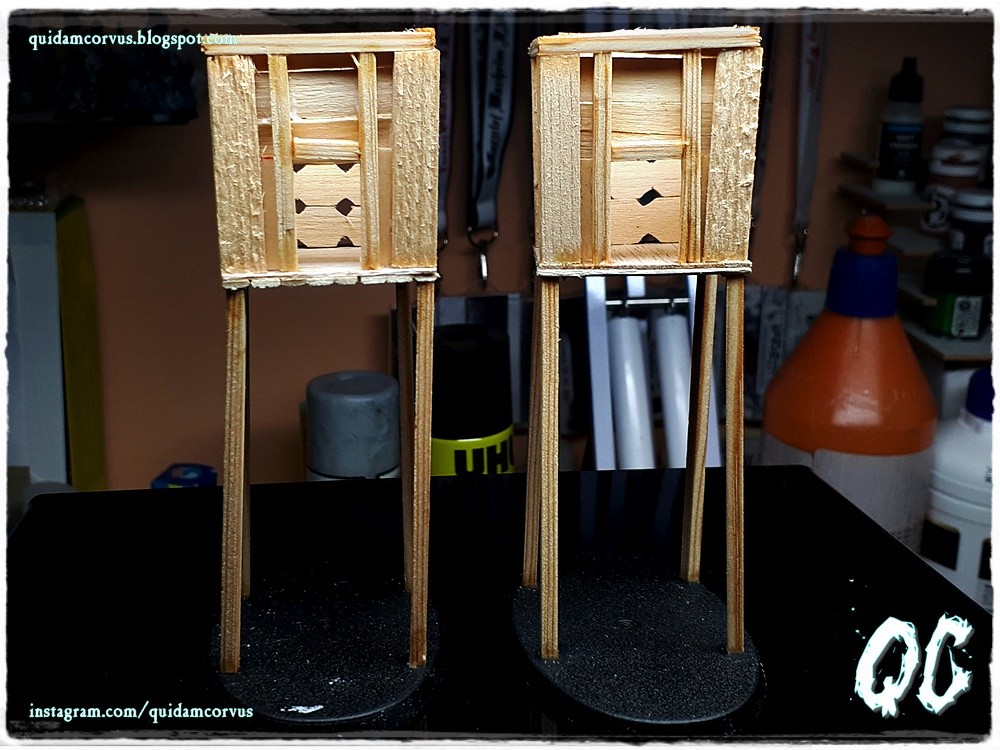
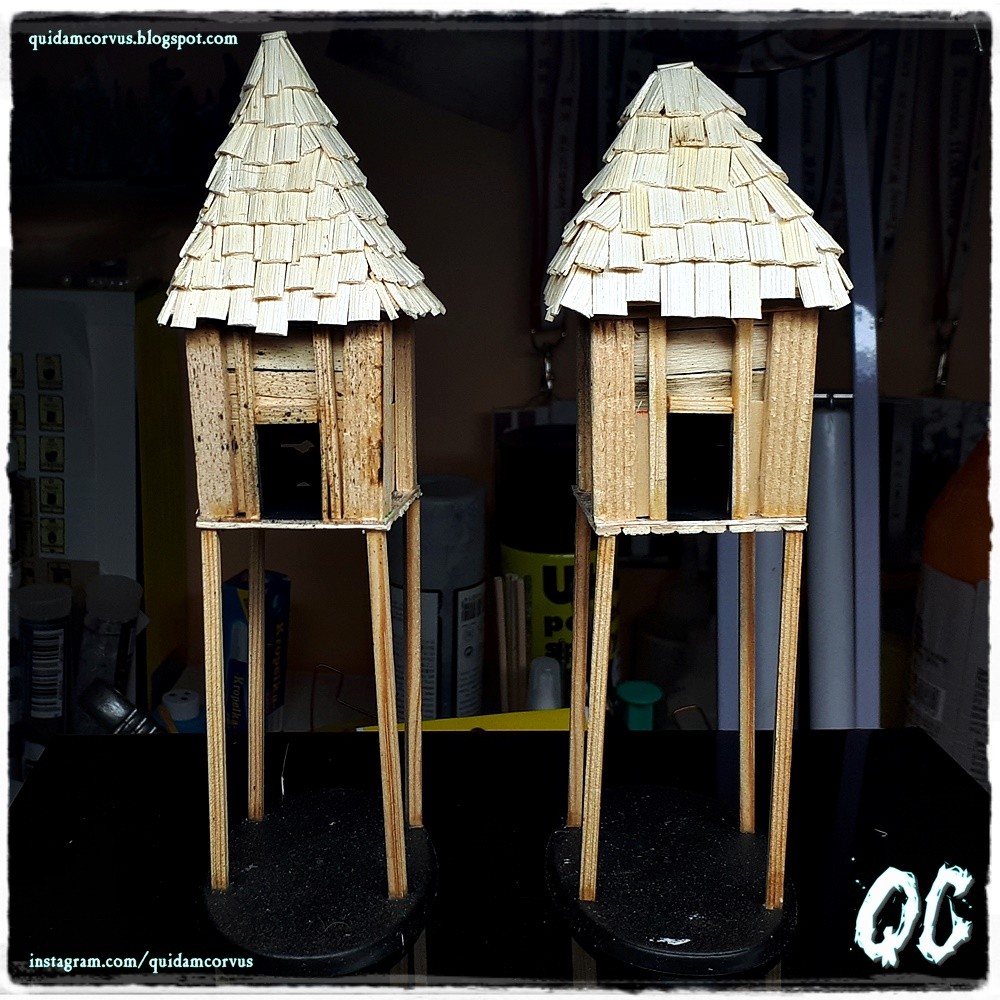
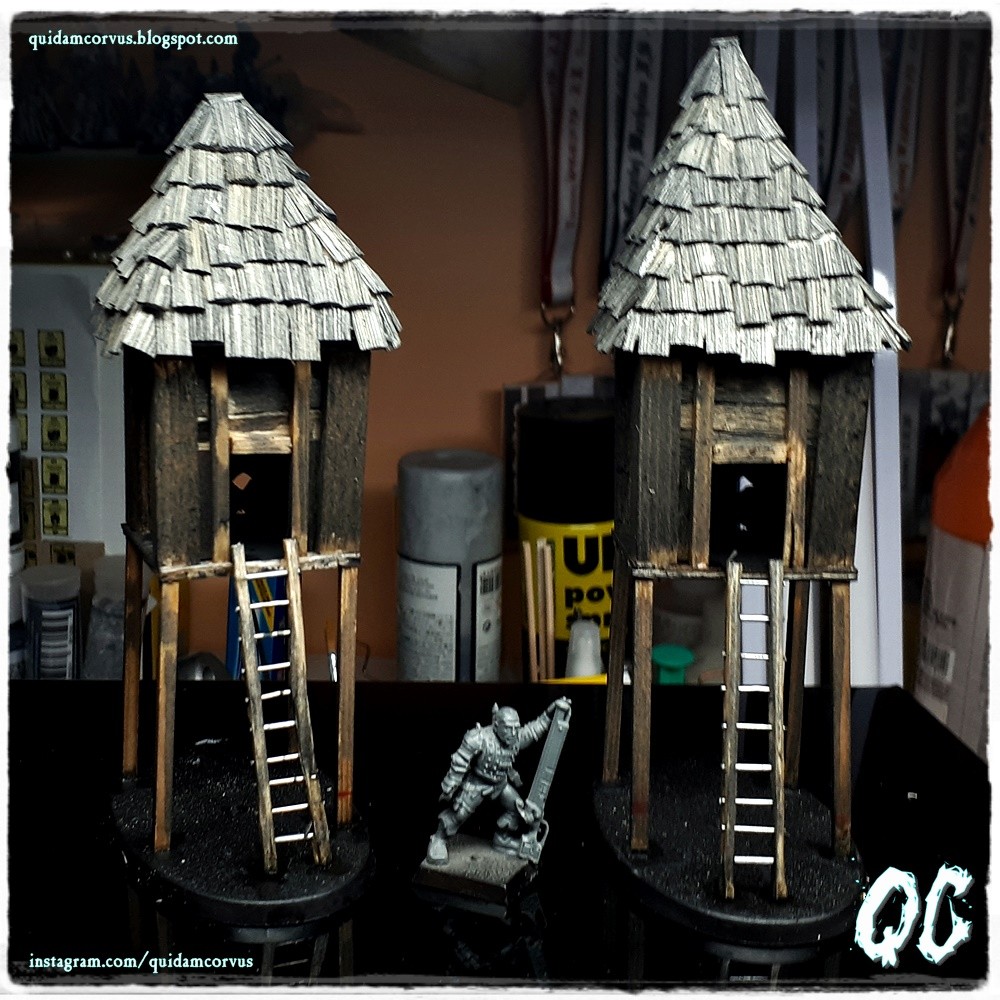
I to tyle. Jeśli zamierzacie budować sernik, to życzę Wam udanej zabawy, a ja zabieram się za malowanie.
|
And that's it. If you are going to build a Cheese house, I wish you lots of fun, and I'm painting.
|
Możecie także zostać Patronami DansE MacabrE i wesprzeć projekt za pośrednictwem strony patronite.pl.
A więcej o moim udziale na patronite.pl znajdziecie TUTAJ. |
You can also become Patrons of DansE MacabrE and support the project through the patronite.pl website.
And more about my participation at patronite.pl can be found HERE. |
Brak komentarzy:
Prześlij komentarz