
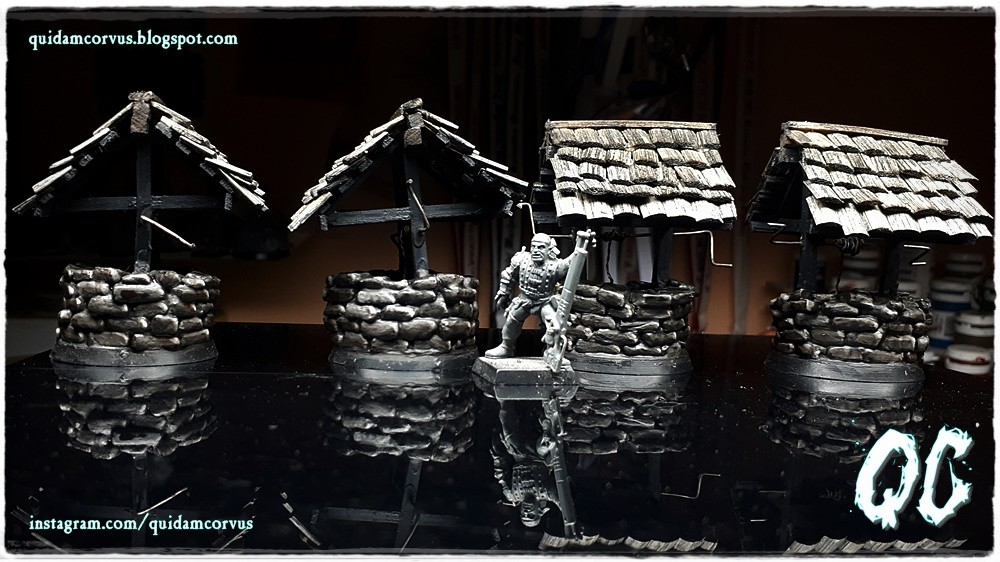
| Wczoraj na łamach bloga DansE MacabrE opublikowałem zdjęcia z warsztatu na których mogliście zobaczyć postępy prac na makietami wsi Teufelsberg do Warheim FS. Dziś krok po kroku pokażę Wam jak zbudowałem studnie. Oczywiście jest to tylko jeden z wielu sposobów, ponadto jeśli macie nieco odłożonej gotówki zawsze możecie zakupić gotowe modele studni, które w ofercie ma wielu producentów modeli i figurek. | Yesterday in the blog DansE MacabrE I published photos from the workshop where you could see the progress of work on models of buildings of the village of Teufelsberg to Warheim FS. Today, step by step, I will show you how I built the wells. Of course, this is only one of many ways, in addition, if you have some cash you have put aside, you can always buy ready models of wells, which is offered by many miniatures and models manufacturers. |
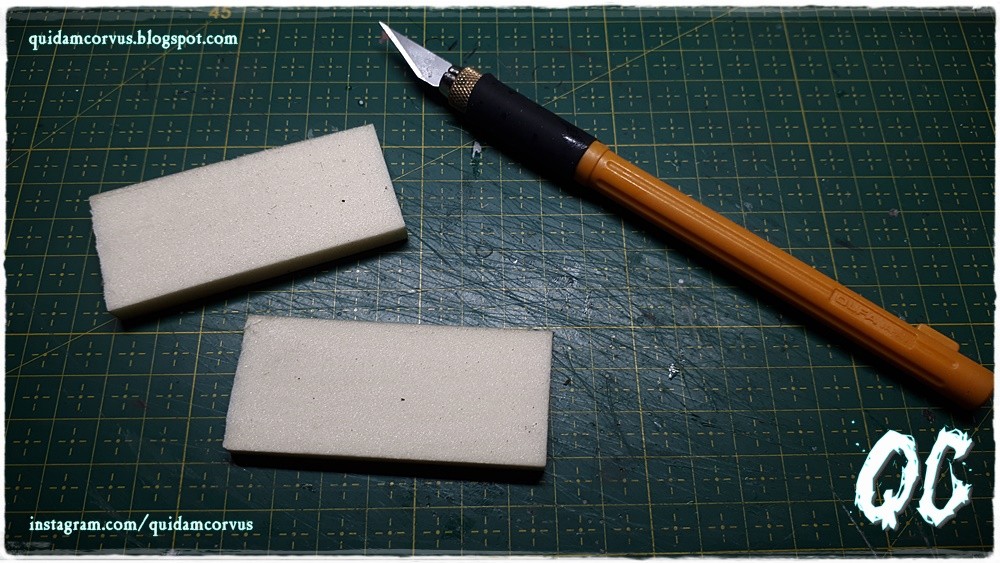
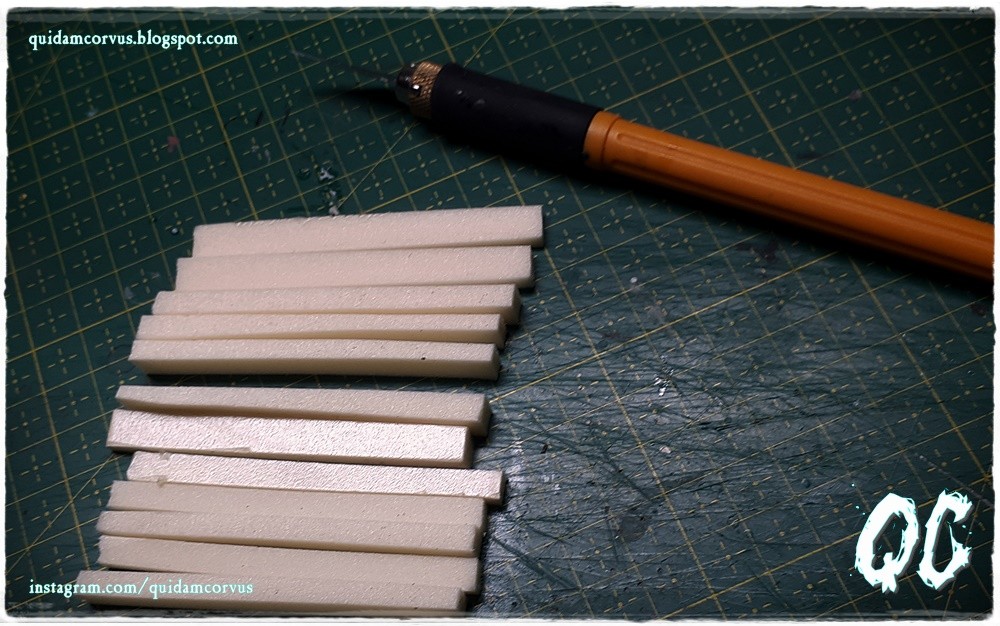
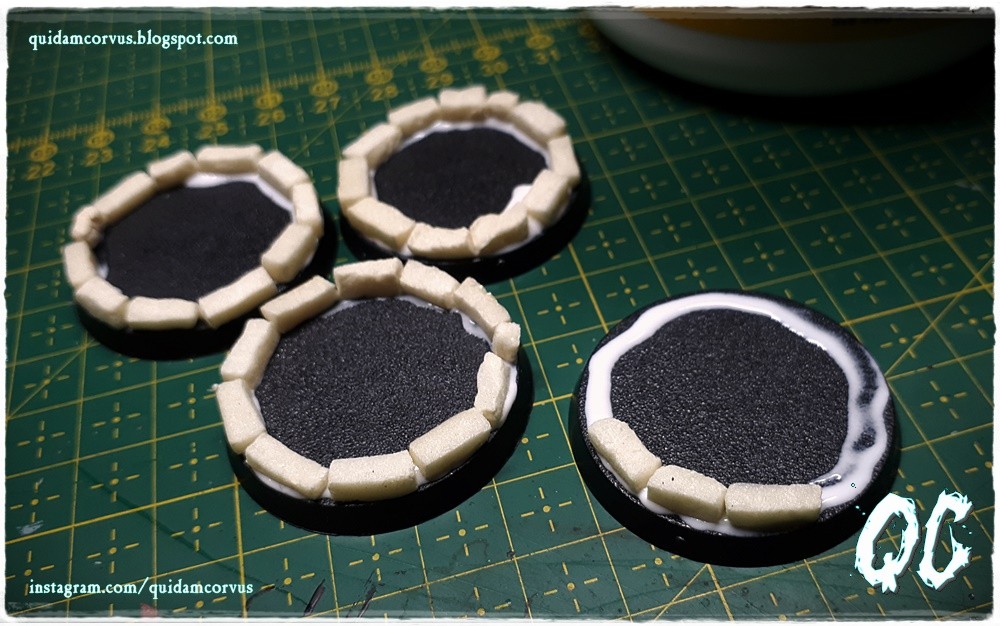
Budowę studni rozpocząłem od wycięcia kamieni z pasków styroduru, które następnie kilkukrotnie zgniotłem w dłoniach nadając im nieco faktury.
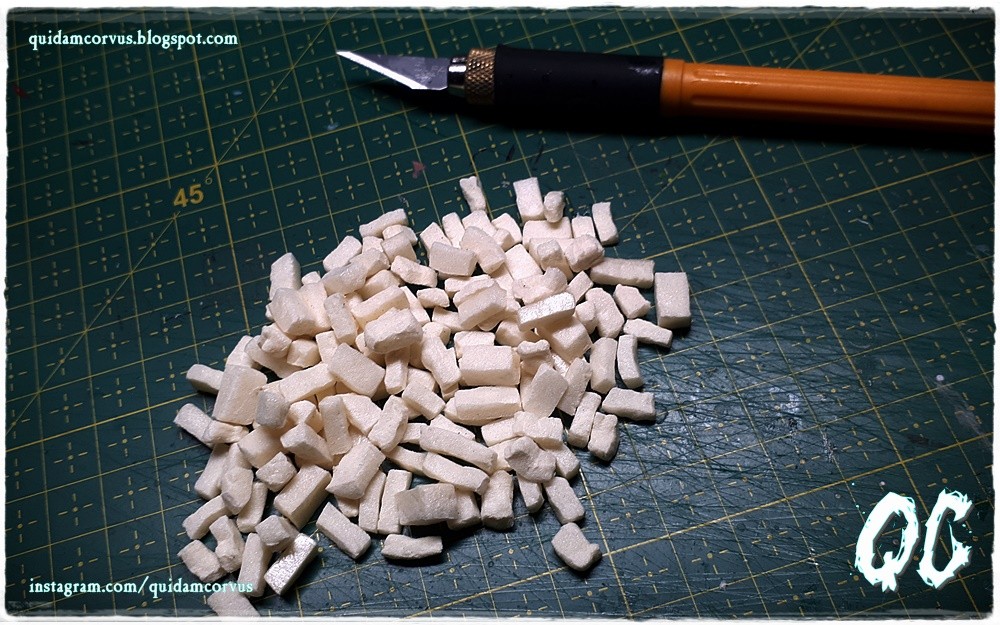
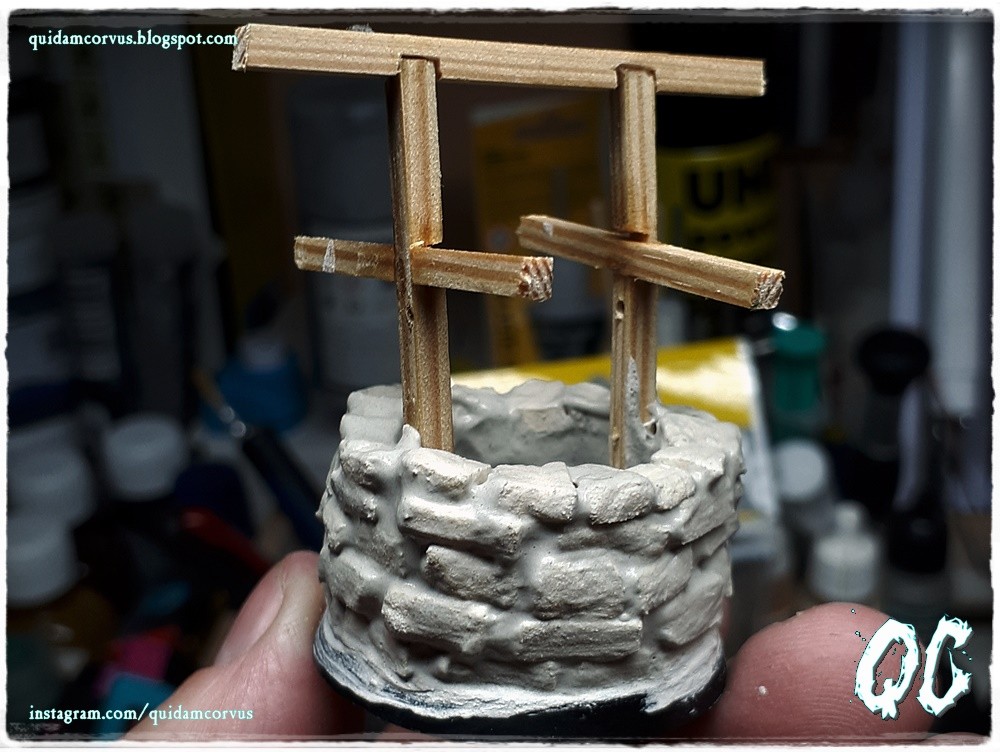
Z kamieni i kleju do drewna zbudowałem na okrągłych podstawkach cembrowinę studni. Następnie, czego nie pokazałem na zdjęciach, całość pokryłem rozwodnionym gipsem. |
I started building the well by cutting stones from styrodur strips, which I then crushed several times in my hands, giving them a bit of texture.
From the stones and wood glue prepared in this way, I built a stone wells on round stands.
Then, which I did not show in the pictures, I covered it with diluted plaster.
|


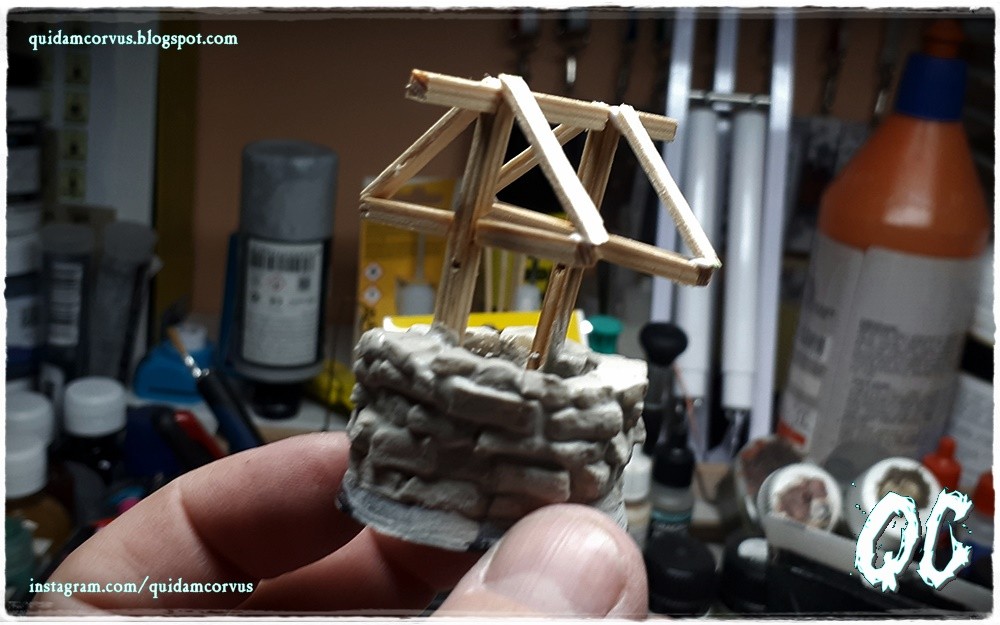
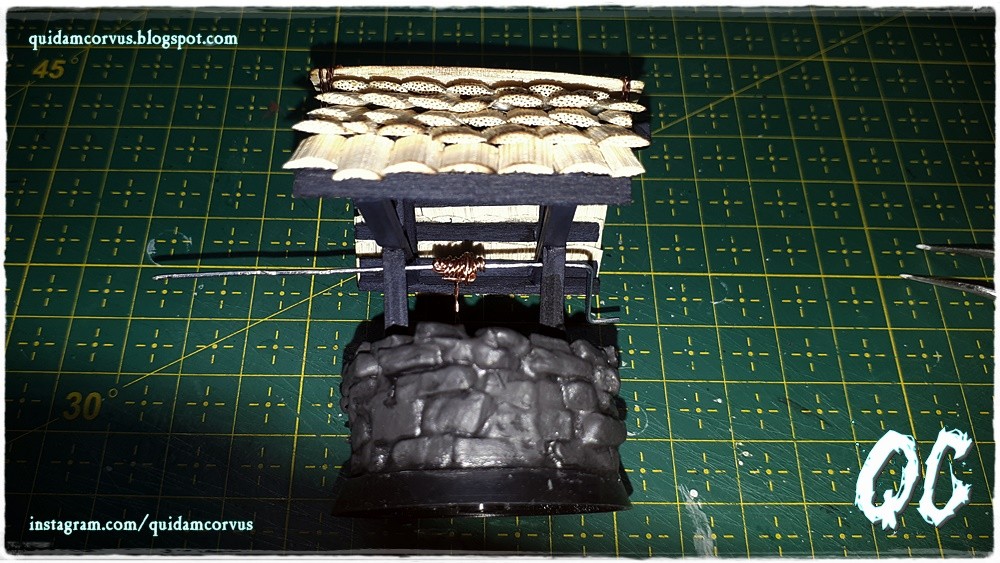
W czasie gdy gips na cembrowinie schnął, budowałem zadaszenia z listewek.
Na krokwi położyłem dachówki tak jak opisałem to wcześniej w poradniku. |
At the time when the stone wells plaster dried, I built roofs made of wooden slats.
I put tiles on the rafters as described earlier in the tutorial. |


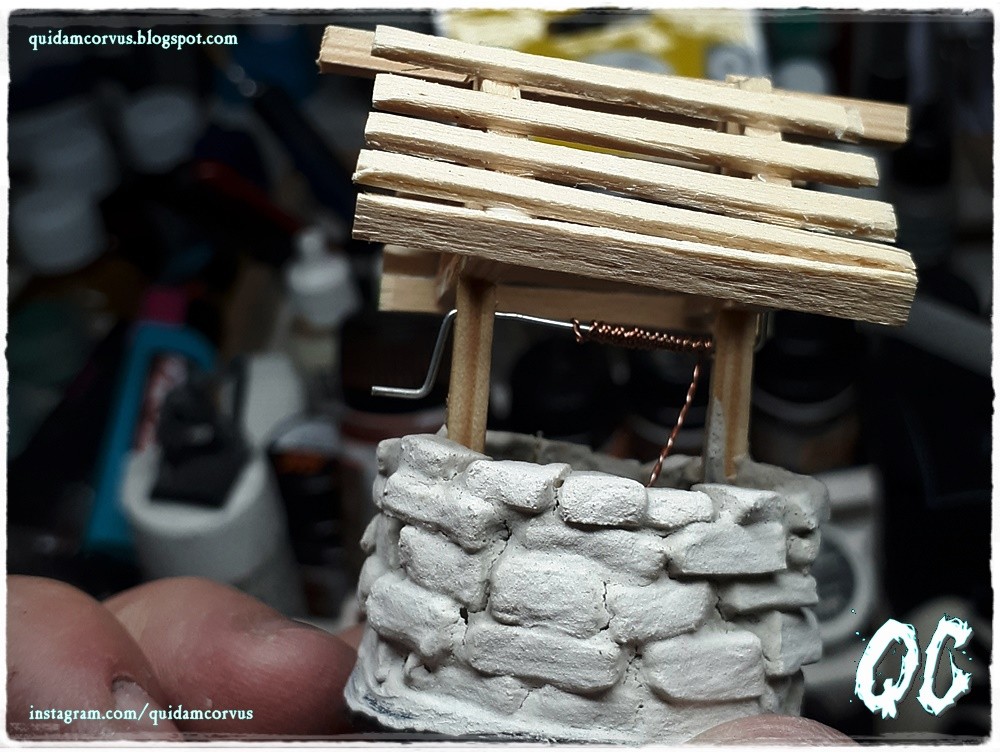


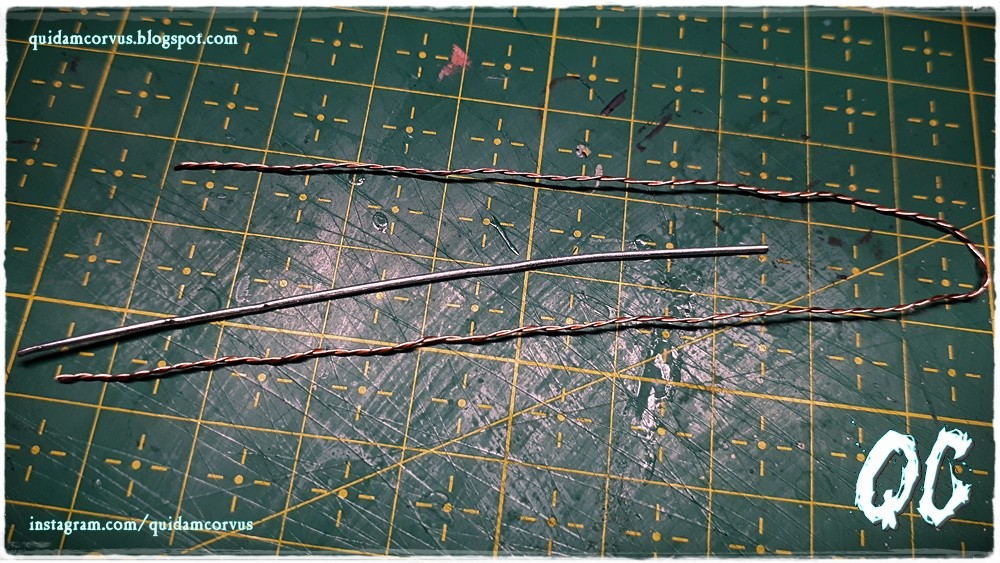
Ostatnim krokiem było przygotowanie korby do wyciągania sznura z wiadrem. Korbę zrobiłem ze spinacza biurowego, a sznur skręciłem z dwóch żył drutu miedzianego.
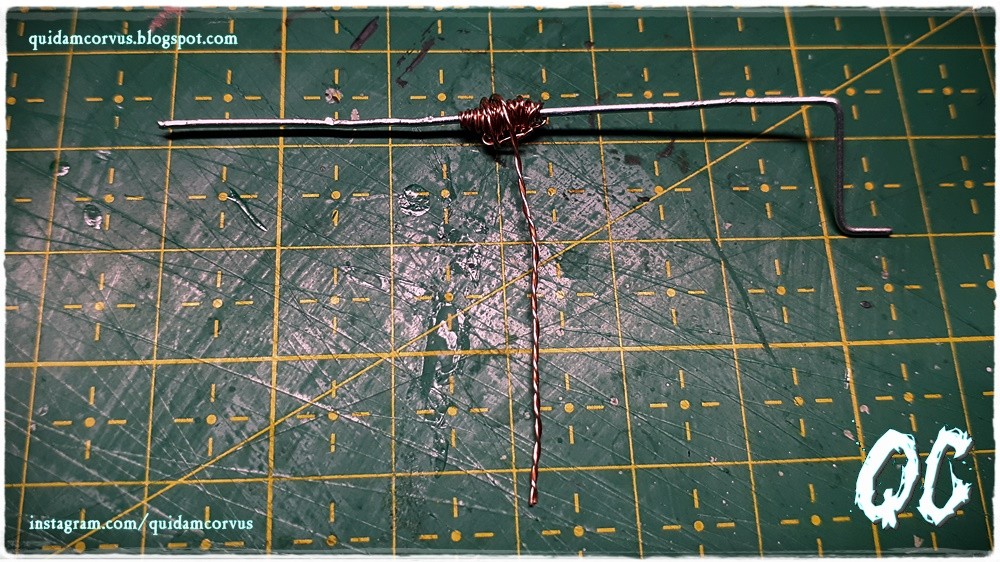
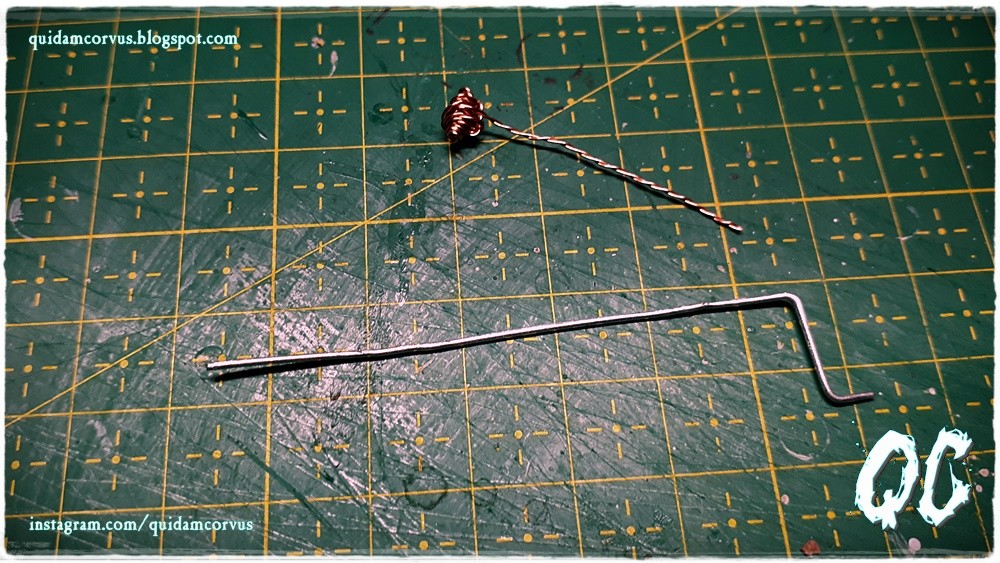
Na zdjęciach pokazałem Wam także jak łatwo i szybko zamontować korbę i nanizać na drut przygotowany wcześniej zwój sznura. Jest to proces łatwiejszy niż jego opisanie. Mianowicie najpierw zaginamy z jednej strony drut w taki sposób by powstała korba. następnie wsuwamy drut prostym końcem w otwór w pierwszym słupku, w moim przypadku jest to słupek prawy. Następnie od lewego końca drutu naciągamy przygotowany wcześniej zwój sznura - przygotowanie polega na okręceniu sznura wokół drutu i delikatnym zsunięciu z owego drutu. Kiedy już uda się nanizać zwój sznura na drut przesuwany drut w prawo tak, by lewy koniec można było wsunąć w otwór w lewym słupku, a następnie znów przesuwany drut w lewo, aż do pożądanej przez nas pozycji i zaginamy koniec z lewej strony w korbę. Ostatni krok to przesunięcie zwoju sznura na środek korby. |
The last step was to prepare the crank for pulling the rope with a bucket. I made the crank with an office paper clip, and twisted the cord from two veins of copper wire.
In the pictures I have also shown you how to easily and quickly install the crank and thread the previously prepared rope coil.
The process itself is much easier than describing it in words.
Namely, first we bend the wire on one side in such a way as to create a crank. then insert the wire with the straight end into the hole in the first pillar, in my case it is the right pillar. Then, from the left end of the wire, we stretch the previously prepared cord coil - the preparation consists in twisting the cord around the wire and gently sliding off the wire. When you can thread the cord on the wire sliding wire to the right so that the left end can be inserted into the hole in the left pillar, and then again the wire moved to the left until the desired position and we bend the end from the left into the crank. The last step is to shift the coil to the center of the crank.
|


Prawda, że proste?
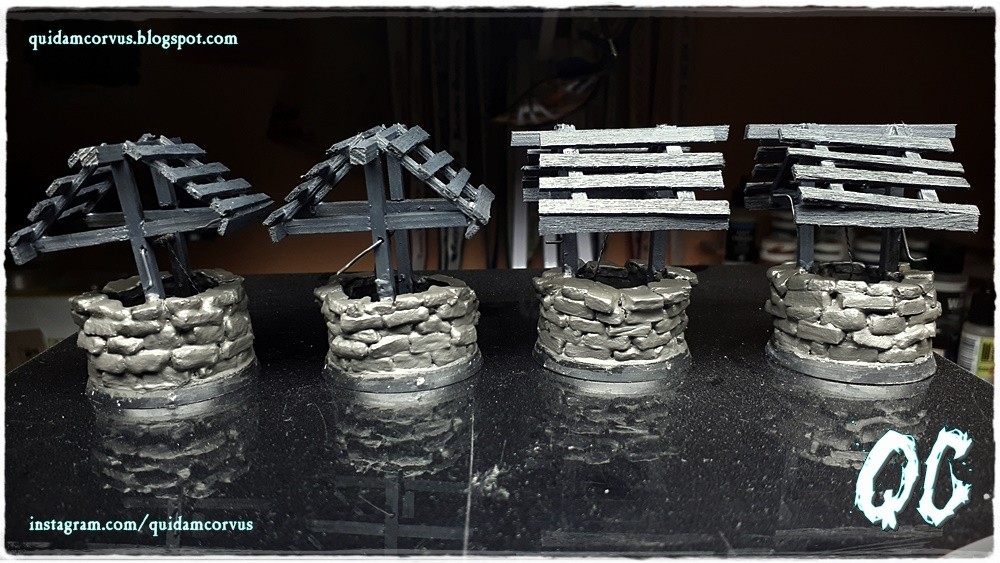
Na koniec pozostaje pomalować całość na wybrane kolory. W celu ułatwienia można też przygotować osobno cembrowinę studni oraz zadaszenie i skleić elementy w całość dopiero po pomalowaniu. |
I said it's simple, right?
At the end, it remains to paint the whole with selected colors.
To make it easier, you can also prepare a well timbered roof and stone wells separately and glue the elements together after painting.
|

Możecie także zostać Patronami DansE MacabrE i wesprzeć projekt za pośrednictwem strony patronite.pl.
A więcej o moim udziale na patronite.pl znajdziecie TUTAJ. |
You can also become Patrons of DansE MacabrE and support the project through the patronite.pl website.
And more about my participation at patronite.pl can be found HERE. |
Brak komentarzy:
Prześlij komentarz