
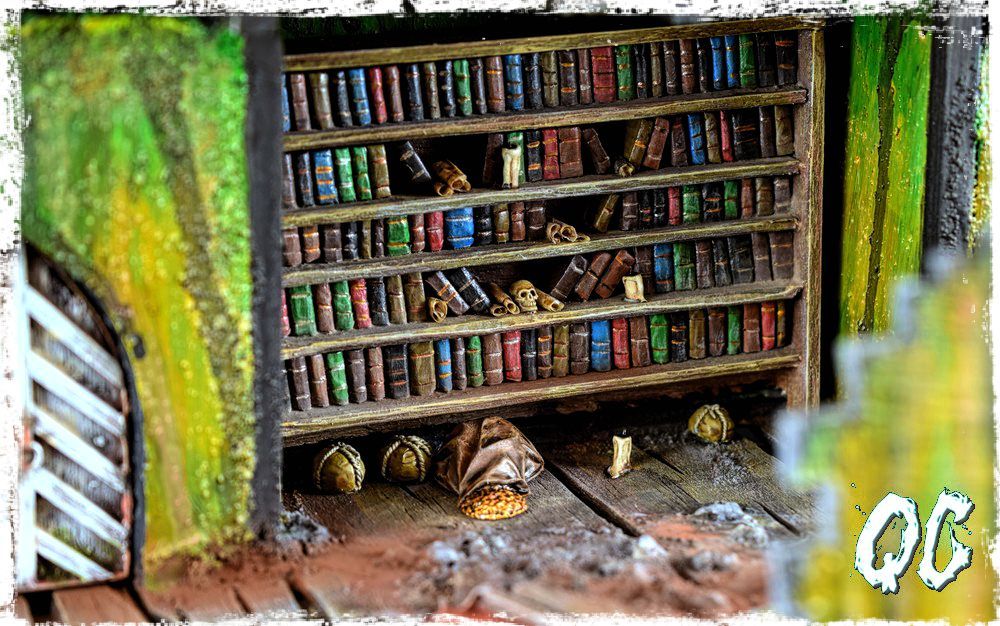
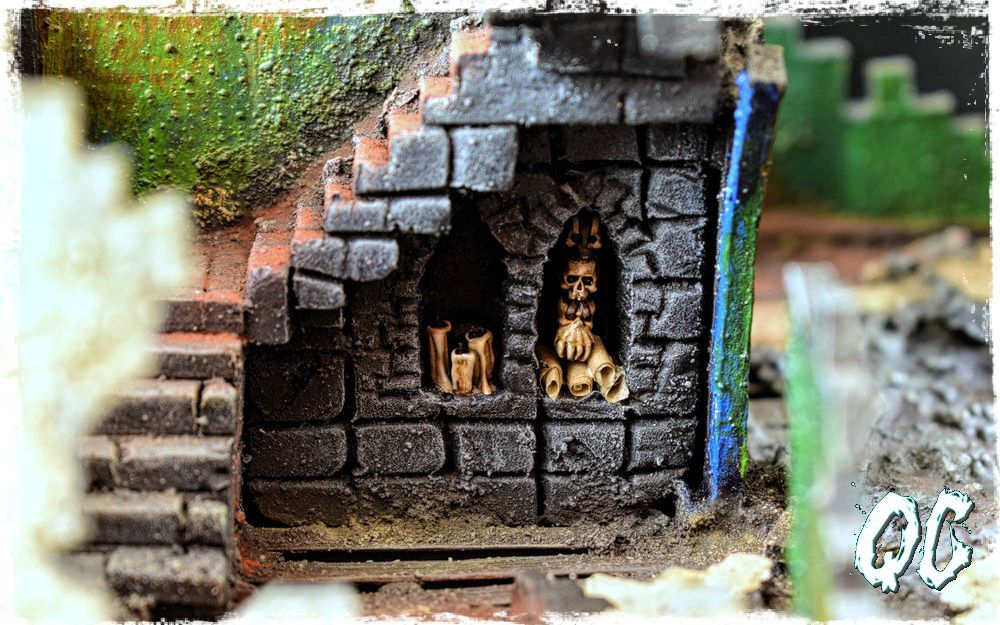
Przy okazji budowy Domu Kupca postanowiłem ozdobić makietę w kilku miejscach świecami i pergaminami.
|
When I was building the Merchant's House, I decided to decorate the model in several places with candles and scrolls.
|
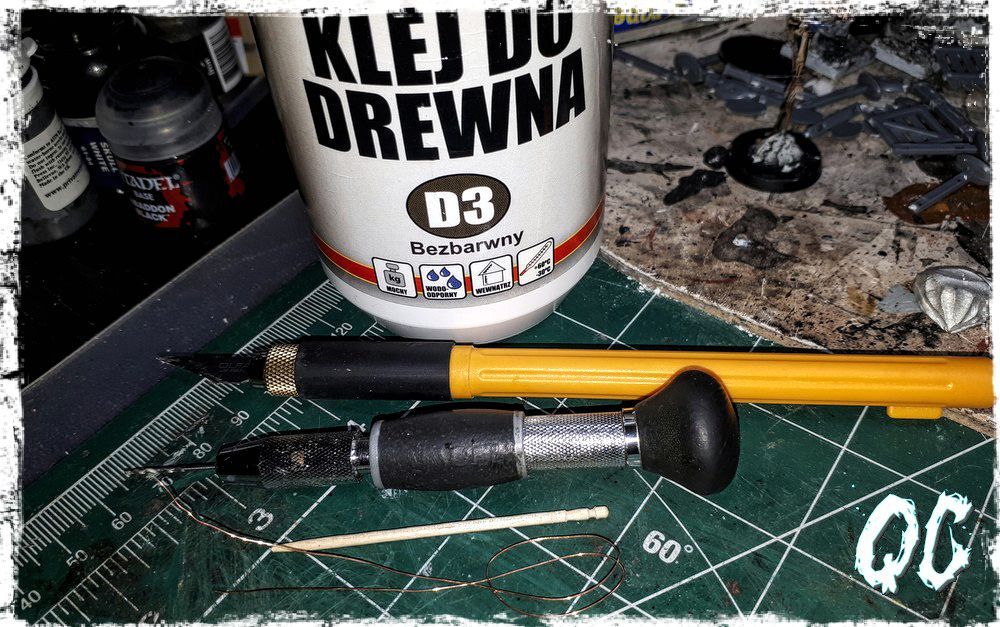
Do wykonania świeć będzie potrzebować następujących narzędzi:
|
To make the candles you will need the tools listed below:
|
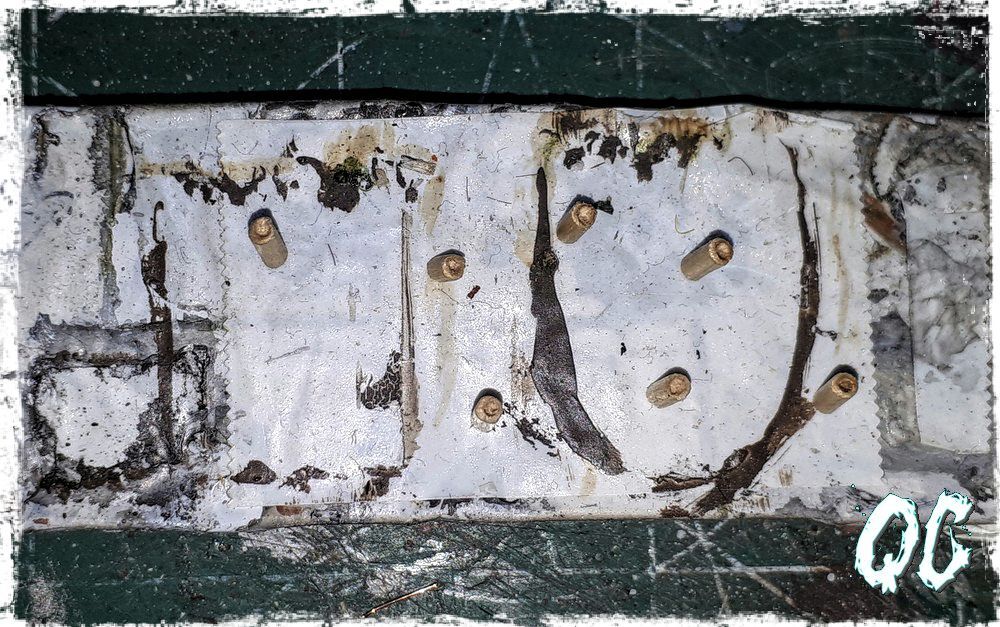
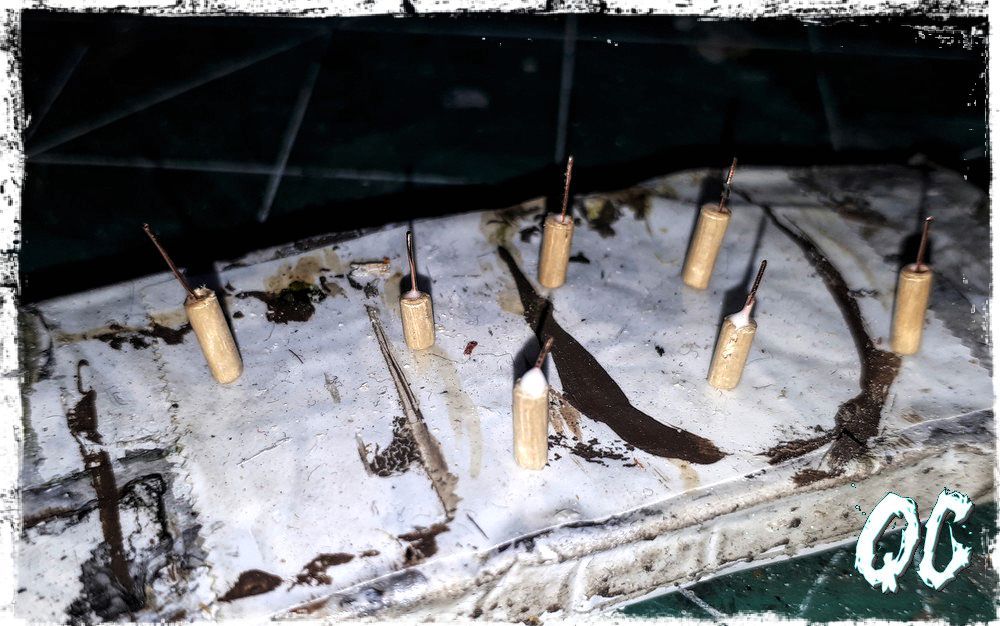
Pierwszy krok to pocięcie wykałaczki na kilkumilimetrowe odcinki, w zależności od tego jak wysokich świec potrzebujecie.
Dla ułatwienia pracy przykleiłem sobie pocięte fragmenty wykałaczek na klejącą taśmę dwustronną. Następnie nawierciłem w każdej ze świec otwór o głębokości 2-3 mm. Otwór wypełniłem klejem Wikol, a do środka włożyłem odpowiednio przycięty drut miedziany, który będzie pełnił rolę knota. |
The first step is to cut the toothpick for several millimeters, depending on how high candles you want to make.
For ease of work, I glued cut fragments of toothpicks to a double-sided adhesive tape. Then in each of the candles I drilled a hole with a depth of 2-3 mm. I filled the hole with Wikol glue and put in a properly cut copper wire, which will serve as a candlewick. |
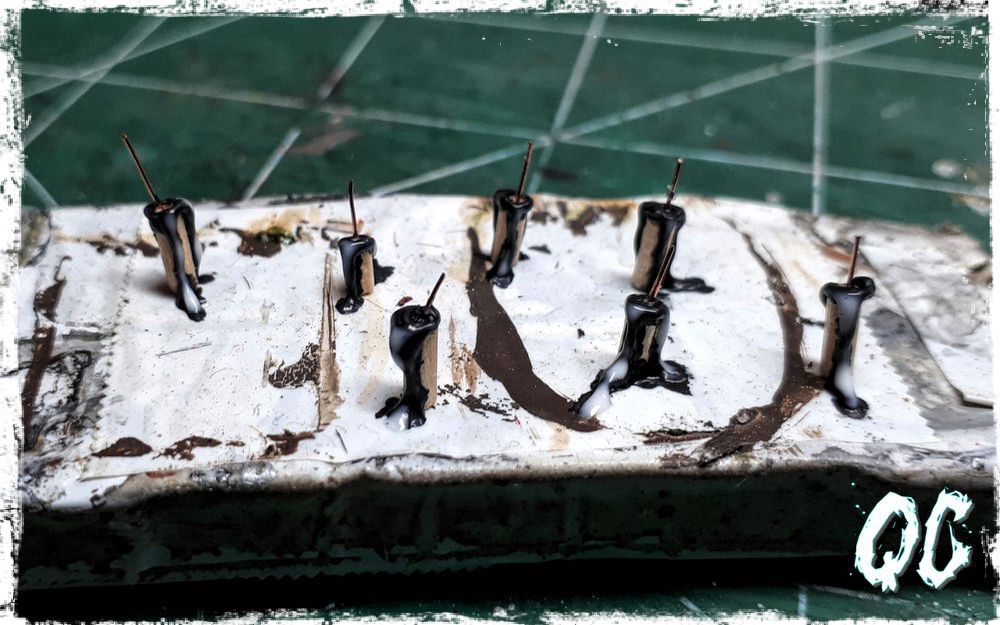
Po przygotowaniu świecy i knota pora na wykonanie śladów spływającego wosku.
Do wykonania zacieków użyłem kleju Wikol, który dla celów niniejszego poradnika zmieszałem z czarnym pigmentem w płynie. Klej Wikol zmieszany z czarnym pimentem zmienił nieco swoje właściwości. Zauważyłem, że klej nie zasycha tak szybko, jest bardziej gęsty oraz lepki, co znacznie ułatwiło modelowanie zacieków. Po wyschnięciu kleju przyciąłem knoty i pomalowałem całość szarą farbą podkładową. |
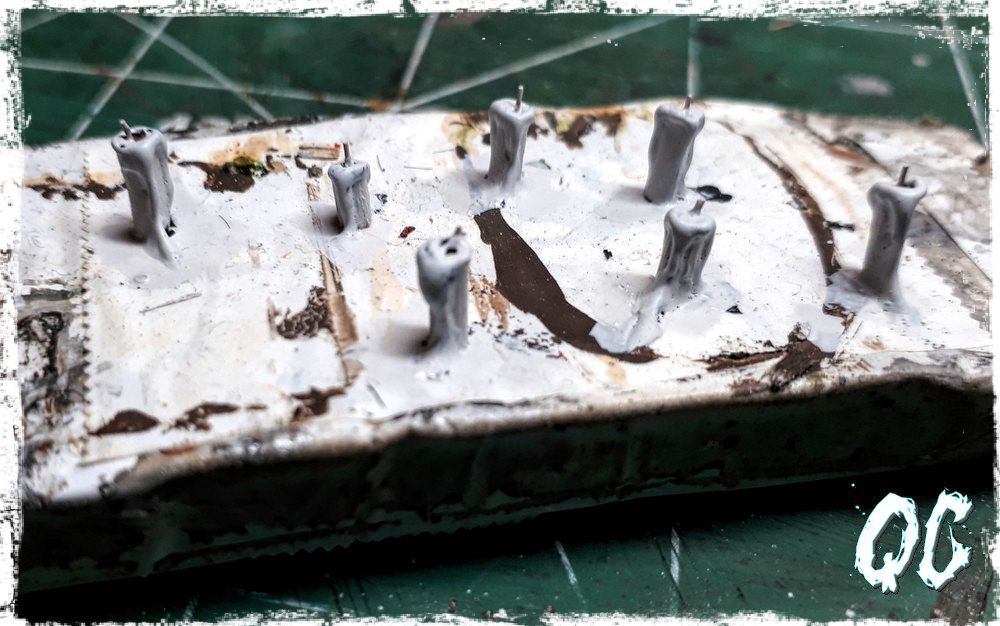
After preparing the candle and the candlewick, it is time to make traces of the flowing wax.
I used Wikol glue to make stains, which for the purposes of this guide was mixed with a black pigment in a liquid. Wikol glue mixed with black pimentem changed some of its properties. I noticed that the glue does not dry up so quickly, it is more dense and sticky, which greatly facilitated modeling traces of flowing wax. After the glue dried, I cut the candlewick and painted the whole with gray undercoat paint. |
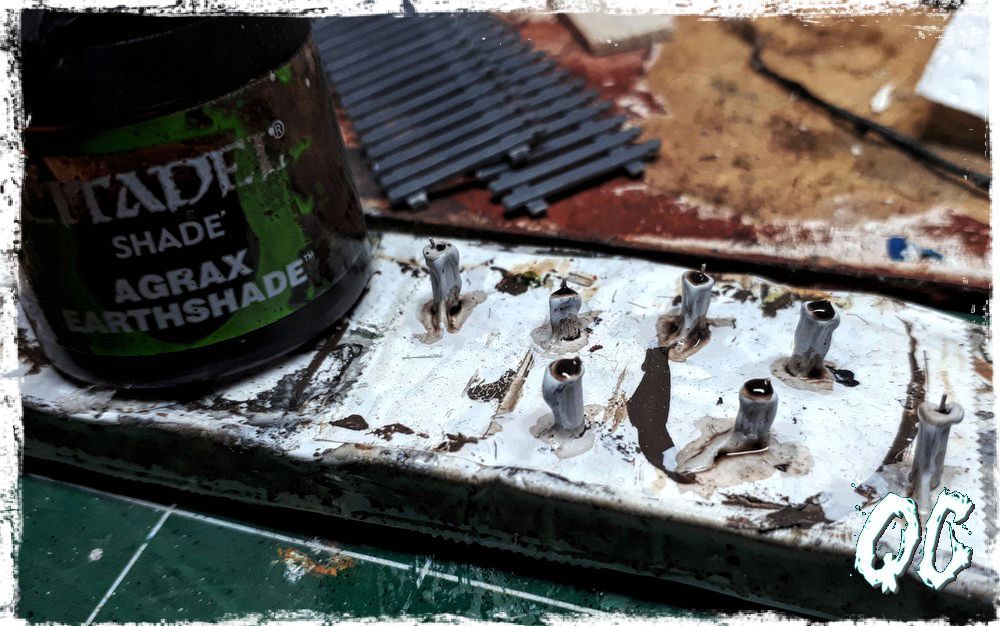
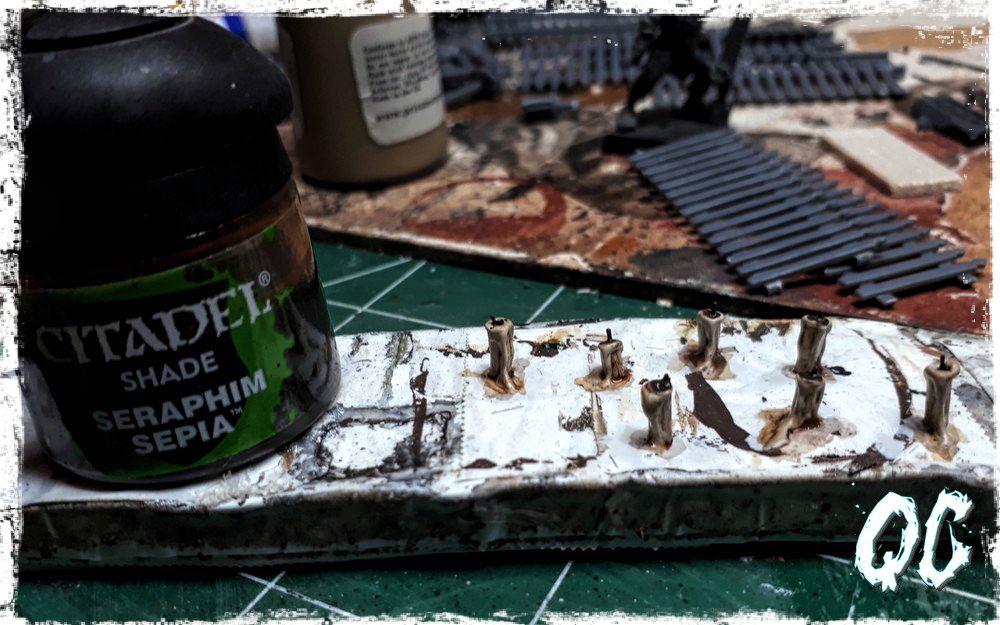
Ostatni krok to pomalowanie świec. Do tego celu użyłem dwóch farb typu shade od Games Workshop.
Najpierw użyłem Agrax Eartshade, który nałożyłem na czubek i podstawę świecy, a gdy shade wysechł całość pomalowałem Seraphim Sepia. |
The last step is painting candles. For this purpose, I used two shade paints from Games Workshop.
First, I used Agrax Eartshade, which I put on the top and base of the candle, and when the shade was dry, the whole candle was painted by Seraphim Sepia.
|
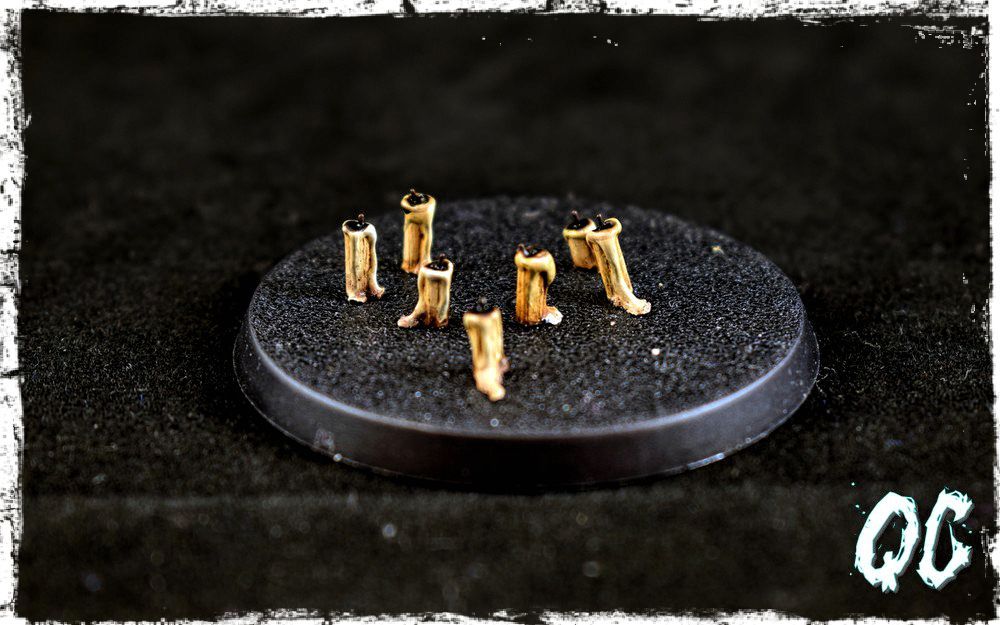
Gdy farby wyschły pomagając sobie ostrzem noża odkleiłem świece od klejącej taśmy dwustronnej.
Tak przygotowane świece są gotowe do użycia i przyklejenia w wybrane przez was miejsce. |
When the paint dried, helping myself with the edge of the knife, I removed the candles from the double-sided adhesive tape.
Candles prepared in this way are ready to be used and glued to the place of your choice. |
Drugim elementem, który pokażę wam jak szybko wykonać są zwoje pergaminu. Do tego celu będzie potrzebować:
|
The second element that I will show you how to perform quickly will be the scrolls of parchment. For this purpose, you will need:
|
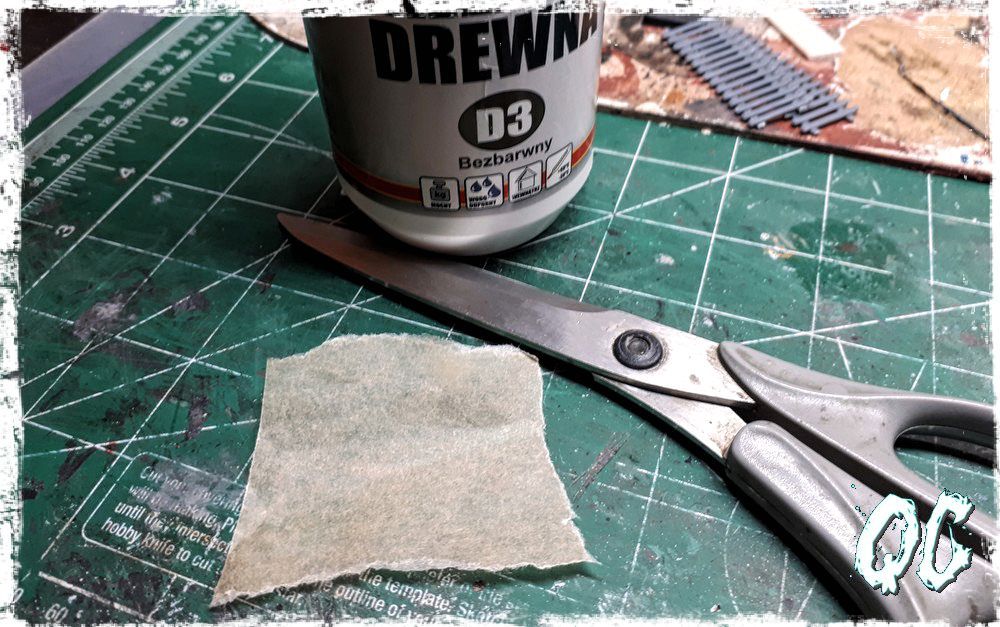
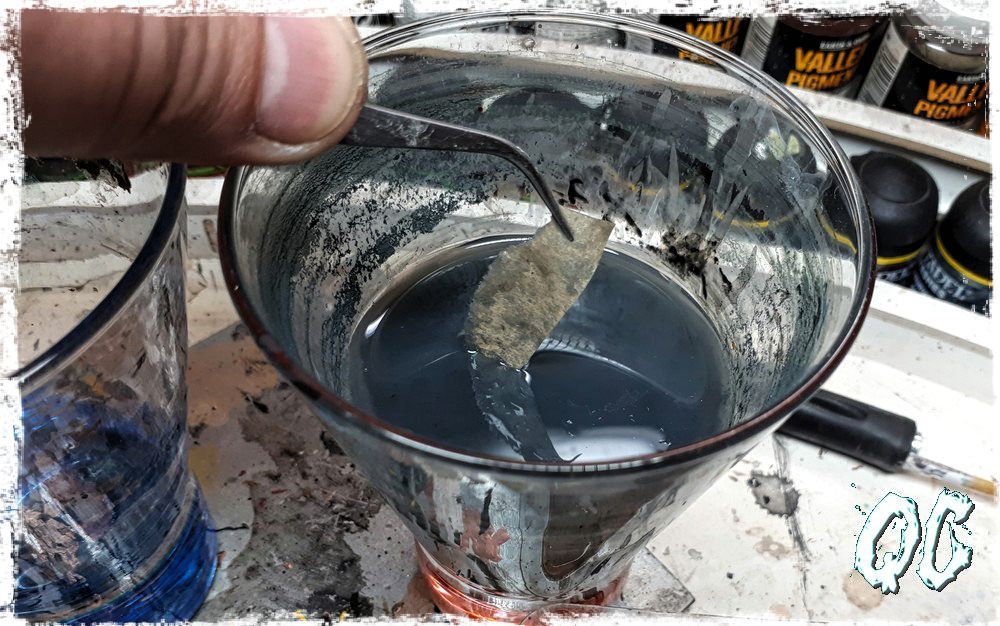
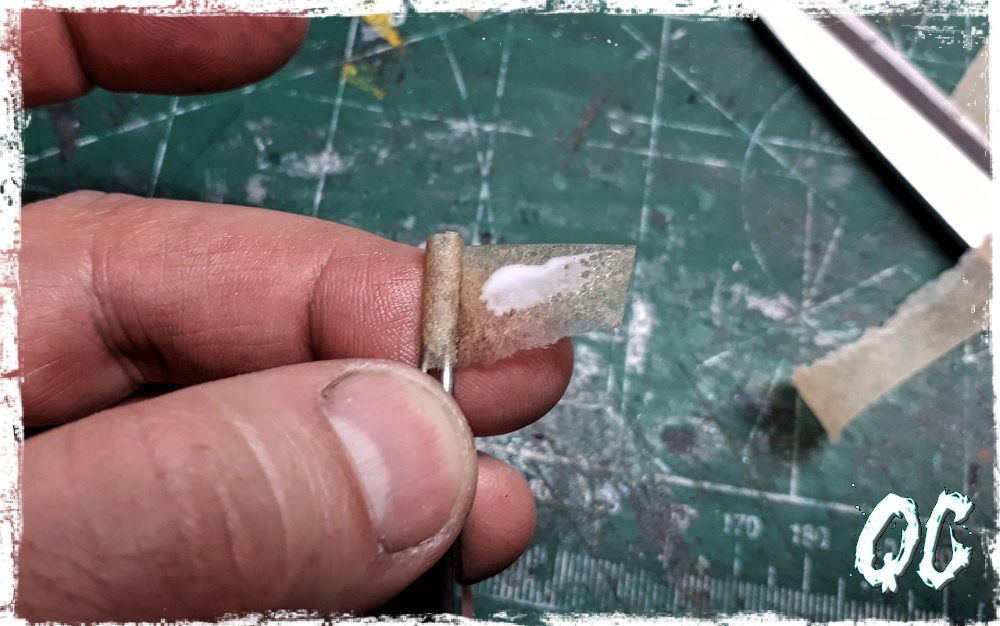
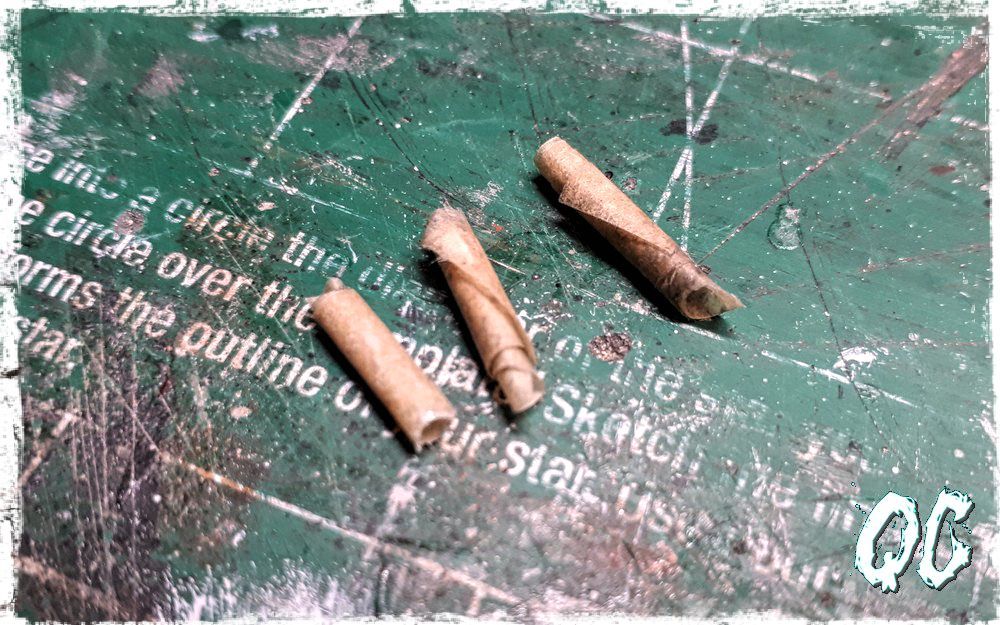
Zwoje pergaminu z papieru do pieczenia można wykonać w trzech prostych krokach.
Po wycięciu lub oderwaniu paska papieru o żądanym rozmiarze moczę całość w wodzie. Następnie zwijam pasek papieru w rulon, w tym przypadku pomagam sobie pincetą. A na koniec jeden z końców paska smaruję klejem Wikol, który skleja całość razem. I zostawiam całość do wyschnięcia. |
A scrolls of baking paper can be made in three simple steps.
After cutting or removing the strip of paper of the desired size, immerse the whole in water. Then I roll the strip of paper into a roll, in this case I help myself with tweezers. And finally, one of the ends of the strip is glued Wikol glue, who glues the whole together. And leave the whole to dry. |
Będzie mi miło jeśli pozostawicie po sobie komentarz i udostępnicie ten post. Jeśli chcecie postawić mi kawę przycisk DONATE znajduje się poniżej.
|
I will be happy if you leave comments and share this post with friends. If you want to put me a coffee DONATE button is below.
|
Brak komentarzy:
Prześlij komentarz